Search This Blog

Tuesday, July 16, 2013

Homemade Fruit & Yogurt Popsicle

Homemade Fruit & Yogurt Popsicle 


My husband and I were walking through our local Kroger the other day.  It is not uncommon for us to venture down the "miscellaneous" isle. You never know what you are going to find!  The little treasure I ended procuring that day was a cute popsicle mold.

In trying to get back into the swing of the whole diet thing, I decided I needed to come up with ways to curb my ice cream cravings!  Believe me when I say, I really like ice cream.  I thought these molds would be a perfect way to make a healthy, homemade treat!

 I do have a sweet tooth but sometimes a chocolate bar or skittles just won't cut it when I want ice cream.  There is something about enjoying something cold.  Although I am going to allow myself to have some once in a while, this recipe will help my "cold" tooth!  

Things needed:

Cute popsicle molds
Blender or a bullet

1/4 c. blueberries
5 strawberries
1 T. honey
1/2 c. POM juice
1/2 c. plain yogurt

Pour all ingredients in the blender (or bullet) and blend until pureed.   Pour in the molds, leaving a space at the top for liquid to expand when frozen!  Freeze at least 4 hours or until firm.  Be patient! Once frozen, set in warm water for just a moment to help release your treat.  Remove and enjoy!!


 Excuse the sugar in the picture.  I was going to use a little but I didn't need it.  The honey did a great job!


Aren't they cute!? :)


Reminder:  Leave a little space at the top for expansion!


Put tops on and freeze!  Wait at least 4 hours!


You can play with the ingredients!  This is just what sounded good to me!  Also, after making the puree, I just drank the remainder.  It was a watered down smoothie consistency.  I didn't want all the goodness wasted!


I hope you ENJOY!


Classic Vinaigrette

Homemade Classic Vinaigrette 


While taking our spontaneous trip,  I hesitate to confess what and where we ate!  In fact, I will spare you the details.  I will divulge this much...it was 3 fast food (greasy spoons, you might say) type places.  Needless to say, my husband and I felt very bloated and just plain "yucky" on our drive home.  While talking on the drive, we decided it was time to get back on our diet!  

My husband really enjoys salads.  To make it a little more fun, we like to make some of our own dressings.  Here is the one we made tonight.  We topped it will some grilled chicken tenders.  It was delicious! 

(This versatile vinaigrette is an everyday standby.  Adjust the mustard and garlic to taste.)


1/4 cup olive oil
3 T. vegetable oil
3 T. balsamic vinegar
3 T. distilled white vinegar
2-3 T. Dijon-style mustard
1 garlic clove, finely minced

Combine all ingredients in a jar and shake until well mixed. Makes 1 1/3 cups.

*I used a bullet to mix mine.  I put in all ingredients, minus the oils.  After everything was well blended, I added the oils.  Shake, shake, shake.  I had this nice dressing bottle my mother in law gave me that worked perfect to put our homemade dressing in! 


YUMMY!!!

Spontaneous Getaway Bag

SPONTANEOUS GETAWAY BAG

After getting up at 11:00 Saturday morning (yes, I said 11:00), my husband and I had our coffee and we were soon bored.  Living only an hour to Nashville, we decided to make a short day trip.  We got dressed and hopped in the car.  When we got on the freeway, we saw a sign for a new road to a nearby city that we hadn't been to in a long time.  At the last moment, we decided to exit, change our "plan" to grabbing some Starbucks and Mellow mushroom (great pizza, by the way!)
After a very short drive, my husband noticed another a sign--this time for The Natchez Trace.  Living here almost 4 years we couldn't believe we hadn't been down it.  So, once again, we changed our minds.  
We were only going to drive a little way and enjoy the beautiful scenery. Well, each stop we made was very interesting! Long story short...we decided to keep going.  We went from Tennessee, to Alabama, and last to Tupelo, Mississippi!

Because we were not prepared to travel, we didn't have anything with us!  We ended up picking up some essentials.  Buying a bag to put them in, we are now keeping our "spontaneous bag" near our door.  Anytime we go anywhere besides work, we are grabbing our bag...JUST IN CASE!!!

Some of the items we bought for our bag:

Makeup (cannot be without)
  • Foundation
  • Powder
  • Eyeliner
  • Mascara
  • Eye shadow
Contact case
Contact solution
Men's deodorant
Woman's deodorant
Shampoo
Conditioner
Hairspray
Gel
Body wash
Shaving cream
Razor
Comb
Toothbrush
Toothpaste
Earrings
Q-Tips
Boxers
Panties
Phone Charger
Corkscrew
Cribbage Board
Playing cards

Also, I bought a very comfy summer dress.  I can easily roll in up and put in in the side pocket with the underwear.  I just have to go buy another one.  I like it too much to keep in the bag! :)

DON'T FORGET THE CRIBBAGE BOARD AND THE CORKSCREW!!! :)


 Some items to put in the bag!

Neatly put in a convenient bag...only 10.00 at Walmart.  Or, make your own by following my sister's idea at http://anonionexposed.blogspot.com/2013/01/flat-bottomed-make-up-bag.html

PACKED AND READY TO GO!

IF YOU ARE WONDERING WHAT THE NATCHEZ TRACE IS, HERE IS A LITTLE INFORMATION.  IF EVER GIVEN THE CHANCE, CHECK IT OUT.  THE DRIVE IS INCREDIBLY BEAUTIFUL!!


Sunday, July 14, 2013

Easy Pan-Fried Flounder

When we were little, I loved bringing home a pile of fish and pointing out the biggest fish to mom (which, at times, we were all claiming we caught) and dad would make his special breading to fry them up early in the morning. That's really the only way I liked fish growing up. Not smoked, or grilled, and definitely not baked.

Now that I'm older, I've been trying different types of fish, as well as different ways of cooking it. (For example, click here to see my simple Lemony Salmon Pouches!) I was shopping around the store this week, looking for a decent fish. I found a package of wild caught flounder. According to my hubby's parents, getting wild caught fish is super important! Otherwise, it tends to taste pretty funky. It only cost me $3.99 for 5 decent sized fillets. I made them all at once, and we heated the leftovers in a pan the next day for fish sandwiches and fish tacos. Worked perfectly!


I was very impressed by the flavor and texture of the flounder and we will definitely be buying it again! :) Now to show you how we cooked it.....

Since I had absolutely no clue how to cook flounder, we used a simple pan fry method that worked pretty well. Now that we know we like it, I'll probably try some different methods. (If any of you have some ideas, please let me know!)

Look how nice these fillets are!


I seasoned them up with salt, pepper, and some lemon-pepper.
Flip and repeat on the other side.


Lightly coat with flour.


Heat a saute pan over medium heat. 
Once hot, pour about a tablespoon of olive oil in the center.


Place fillets in the pan. 
(Don't move them around too much once they are in the pan. Let them sear, so they crisp up.)


After about 4-5 minutes, flip over.
Let cook for about 4 minutes longer. 
(The fish is done when you can easily flake it apart with a fork, and the inside is opaque.)
Simple as that!


We served it with a lights salad and fresh lemon wedges.
{It was so good drizzled with lemon juice!}


Look at the crispness! Yum.
Don't worry, the moist-looking spots are not oil, it's the lemon juice. :)


Friday, July 12, 2013

Simple Salsa Chicken

We are now done with both of our vacations to Tennessee and I'm a little sad. (Okay, maybe a lot....) I just have to remind myself to be thankful that I got a vacation, let alone two! :)

It's been kind of difficult to get back into the swing of normalcy. Work has been fairly easy to get back to normal, but home life has been pretty crazy. I'm still trying to get into the routine of making menus, grocery lists, and getting my housework done, while still getting some down-time with my hubby.

Since blogging has been behind schedule for me as well, my sweet mother-in-law is allowing me to share a quick and easy recipe she made for us while we were visiting them. You only need a few ingredients to make this wonderful dish and it pairs perfectly with a nice salad!


Ingredients
skinless, boneless chicken breasts
your favorite salsa
taco sauce
your choice of shredded cheese

Directions
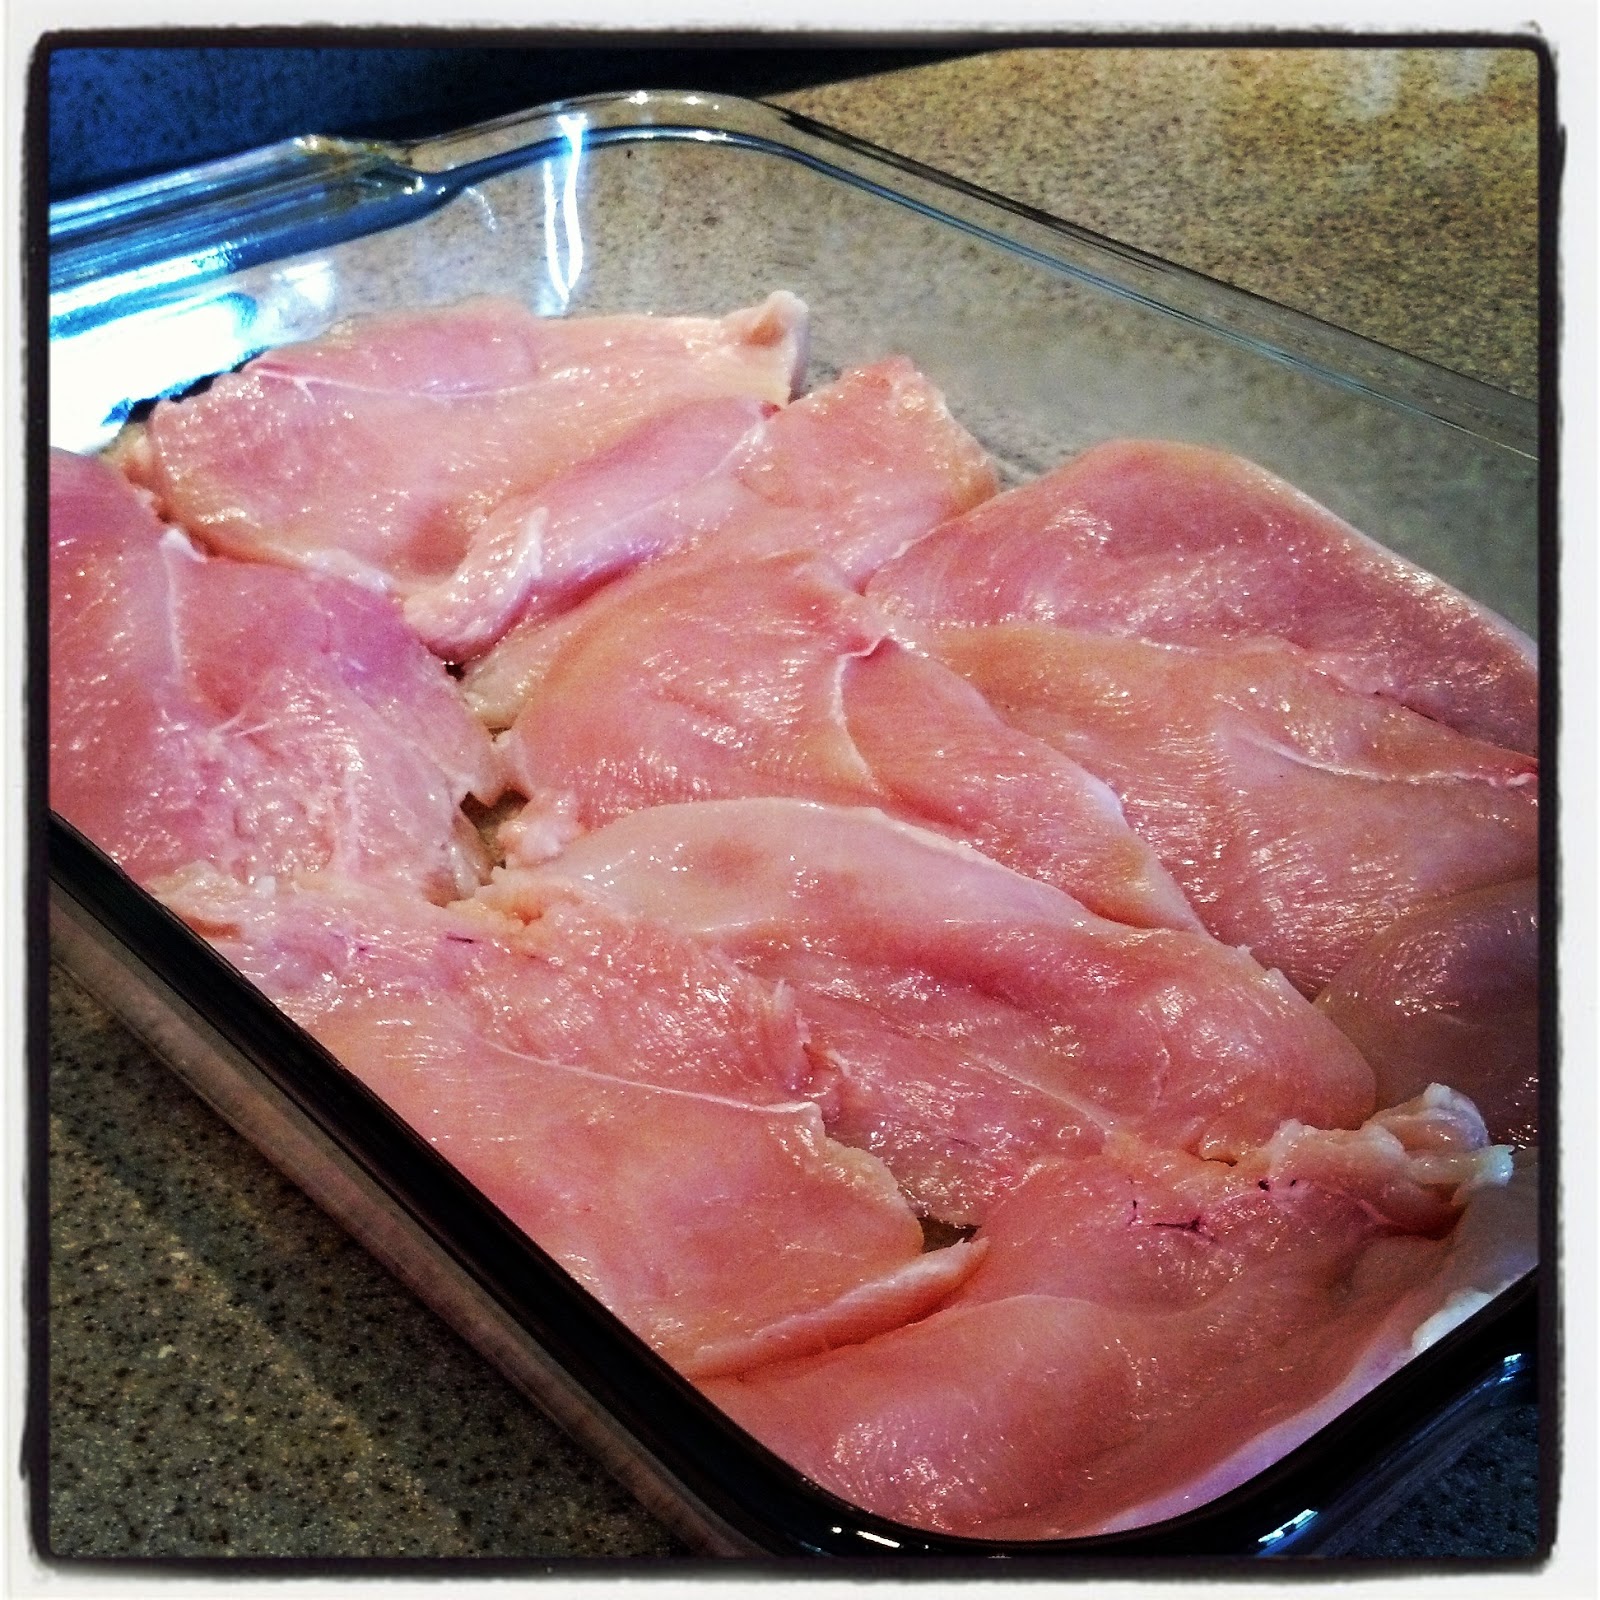
Clean chicken and place in a baking dish.
Season the chicken with spices of your choice.
Layer half the taco sauce & salsa on, then repeat with other half.
Bake in 350 degree oven for 25-30 minutes or until chicken is cooked through.
Sprinkle cheese on and bake until cheese is melted.


***You can use as much (or as little) taco sauce and salsa as you'd like. For this 
dish of chicken breasts, she used approximately half a bottle of taco sauce and a small jar of salsa. Keep in mind that the chicken really soaks up the juices, so when you think you've probably put on too much, you can probably toss a little more on! :)
As far as the cheese goes, that's totally your preference. If you're trying to watch calories or want to keep this dish a little healthier, you can omit the cheese, as well. {But, honestly, who can say no to cheese!?!}


(Directions with Photos)

Clean chicken and place in a baking dish.
{These chicken breasts were fairly thick so she sliced them in half, horizontally.}


Season with salt & pepper and seasonings of your choice.
{Could use taco seasoning, too.}


Layer half the taco sauce over the chicken.


Layer half the salsa on.


Repeat with the remaining taco sauce and salsa.


Bake in 350 degree oven for 25-30 minutes or until chicken is cooked through.
Sprinkle cheese on and bake until cheese is melted.


Let rest a few minutes to let juices in the chicken settle before serving.


Then, serve it up!


Sunday, July 7, 2013

Adorable - Affordable Makeup Holder

You could say that I enjoy makeup... What I don't like is having my "tools"  all over.  I try to be organized, putting it all in a little plastic bin. Not very cute.  I saw this on pinterest the other day.  They used marbles.  I had some coffee beans (they weren't quite strong enough for my liking).  I figured using coffee beans which were just sitting around would not only look cute but smell amazing... :-)

Things needed:
Cute container
Coffee beans or marbles
Makeup brushes

Monday, July 1, 2013

Frozen Grapes (Keeping your Wine Chilled)

Wine is one of those things that won't please everyone's taste buds. If you like it, you probably have your favorites, and maybe some not-so-favorites. I enjoy a good glass of wine, but I like mine more sweet rather than dry, and I usually prefer it chilled.

 A couple nights ago, my mother-in-law was about to open a bottle before heading outside. In the Tennessee heat, you can imagine how quickly a cold glass of wine would turn warm. She had some freshly cleaned grapes, so we decided to test out using them as ice cubes.


Put the cleaned grapes in a Ziploc bag(you can use any color of grapes).
 Seal and throw them in the freezer for at least an hour.


Once the grapes are frozen, grab a few (or even a small handful) and toss them in your glass.
{Maybe pop a few in your mouth, too. I won't tell.}


Then, go ahead, pour your wine, and relax. :)


Using the grapes as your ice cubes will keep your wine chilled without diluting it.
Plus, they will soak up a little of the wine and you can enjoy them as a snack, as well!


Check these out!