Search This Blog

Wednesday, June 5, 2013

Cleaning a Burnt Pan (without chemicals!)

I had a lot of stuff to do this week. If you know me well, you know that I'm not that great of a multi-tasker. I think my mom will attest to that. When I was younger (and even now), I don't know how many times I remember hearing "Can you continue sweeping while you tell me this story?". Or washing dishes. Or cutting hair. Or setting the table. I think you get the point. I can't seem to do two things at once. :)

Anyway, a couple days ago I was attempting to juggle making dinner, doing laundry, writing our grocery list, organizing my craft room, and cleaning the apartment all at the same time. And also trying to get it all done before Tony got home from work. 

I thought it was all going well. I was in the bedroom hanging clothes and could smell the aroma of dinner cooking on the stove. At first it smelled good, then all of a sudden, I realized there was a charred scent coming through, too. I came out to a kitchen full of smoke, my pan completely charred, and smoke billowing out the center of the pot. 


I grabbed it and ran it out onto the balcony. I set it out there on a potholder (which ended up turning completely black and unusable) and let it sit while I tried to point fans outside to get the smoke to leave.

Tony came home and we talked about whether or not the pan was ruined. I was so disappointed!
He said he thought we could get it cleaned, but I thought for sure it was done for.


Yes, that is a thick layer of charred gunk. 
(You can stop laughing now.)

Now, I'll explain how we cleaned it just in case you ever experience something like this, as well.
And if it does happen to you, don't worry, I won't judge. :)


Fill your pan with water
along with about a cup of white distilled vinegar
and about a tablespoon of salt.

Bring it to a boil and let it boil for about 30-60 minutes. 
(You will feel it start to loosen up when you scrape it with a wooden spoon.)

Just don't let the water evaporate, since we know that can be a problem....


Once it's done boiling, scrape out as much as you can, and rinse. 
Look how much it's taken care of already!


Now wash it.


After washing, there was still a charred piece that refused to come off.

(I never realized how scratched the bottom of our pan was until I took this picture with the flash. 
You'd be surprised how hard it is to take a good picture of the inside of a pot!)


I pulled out some of my DIY Goo-Gone, and rubbed it in. 
I let it sit for about 30 minutes.

 *If you want to make some goo-gone of your own, click here for the recipe.*

After about 30 minutes, rub the goo-gone in with a soft cloth and wash again.


We're all done! 
So happy that I didn't have to throw it out OR use harsh chemicals to clean it!


Homemade Ranch Seasoning

Have you ever looked at the ingredients in a bottle of ranch dressing? Let me show you.

Hidden Valley Original Ranch Dressing
Ingredients:
VEGETABLE OIL (SOYBEAN AND/OR CANOLA), WATER, EGG YOLK, SUGAR, SALT, CULTURED NONFAT BUTTERMILK, NATURAL FLAVORS (MILK, SOY), LESS THAN 1 % OF: SPICES, DRIED GARLIC, DRIED ONION, VINEGAR, PHOSPHORIC ACID, XANTHAN GUM, MODIFIED FOOD STARCH, MONOSODIUM GLUTAMATE, ARTIFICIAL FLAVORS, DISODIUM PHOSPHATE, SORBIC ACID AND CALCIUM DISODIUM EDTA AS PRESERVATIVES, DISODIUM INOSINATE, DISODIUM GUANYLATE

I don't know about you, but there are a lot of ingredients in there that I have absolutely no idea what they are. I can barely even pronounce them.

Thanks to Ali at Gimme Some Oven, I was able to make my own homemade ranch dressing! 
So much more enjoyable now that I know what's in there. :)


Homemade Ranch Seasoning

1/3 c. dry buttermilk
2 Tbsp. dried parsley
1 1/2 tsp. dried dill weed
2 tsp. garlic powder
2 tsp. onion powder
2 tsp. dried onion flakes
1 tsp. freshly ground black pepper
1 tsp. dried chives
1 tsp. salt
powdered stevia, to taste (optional)


Now, that is a list of ingredients that I actually know. :)

(If you buy the King Arthur Dried Buttermilk Powder, the only ingredient is buttermilk!)


Just mix all the ingredients together!


Throw it in a food processor, if you'd like.


How to Make your Homemade Ranch Dressing:

1 Tbsp. homemade ranch seasoning 
1/3 c. plain Greek yogurt (or mayo)
1/4 c. milk


You can use this seasoning mix for dressing, dips, or even to rub on your chicken before cooking!


Preparing your dressing at home will make you feel even better about eating that salad!


*If you have a hard time cooking perfect hard boiled eggs, click here!*


Thursday, May 30, 2013

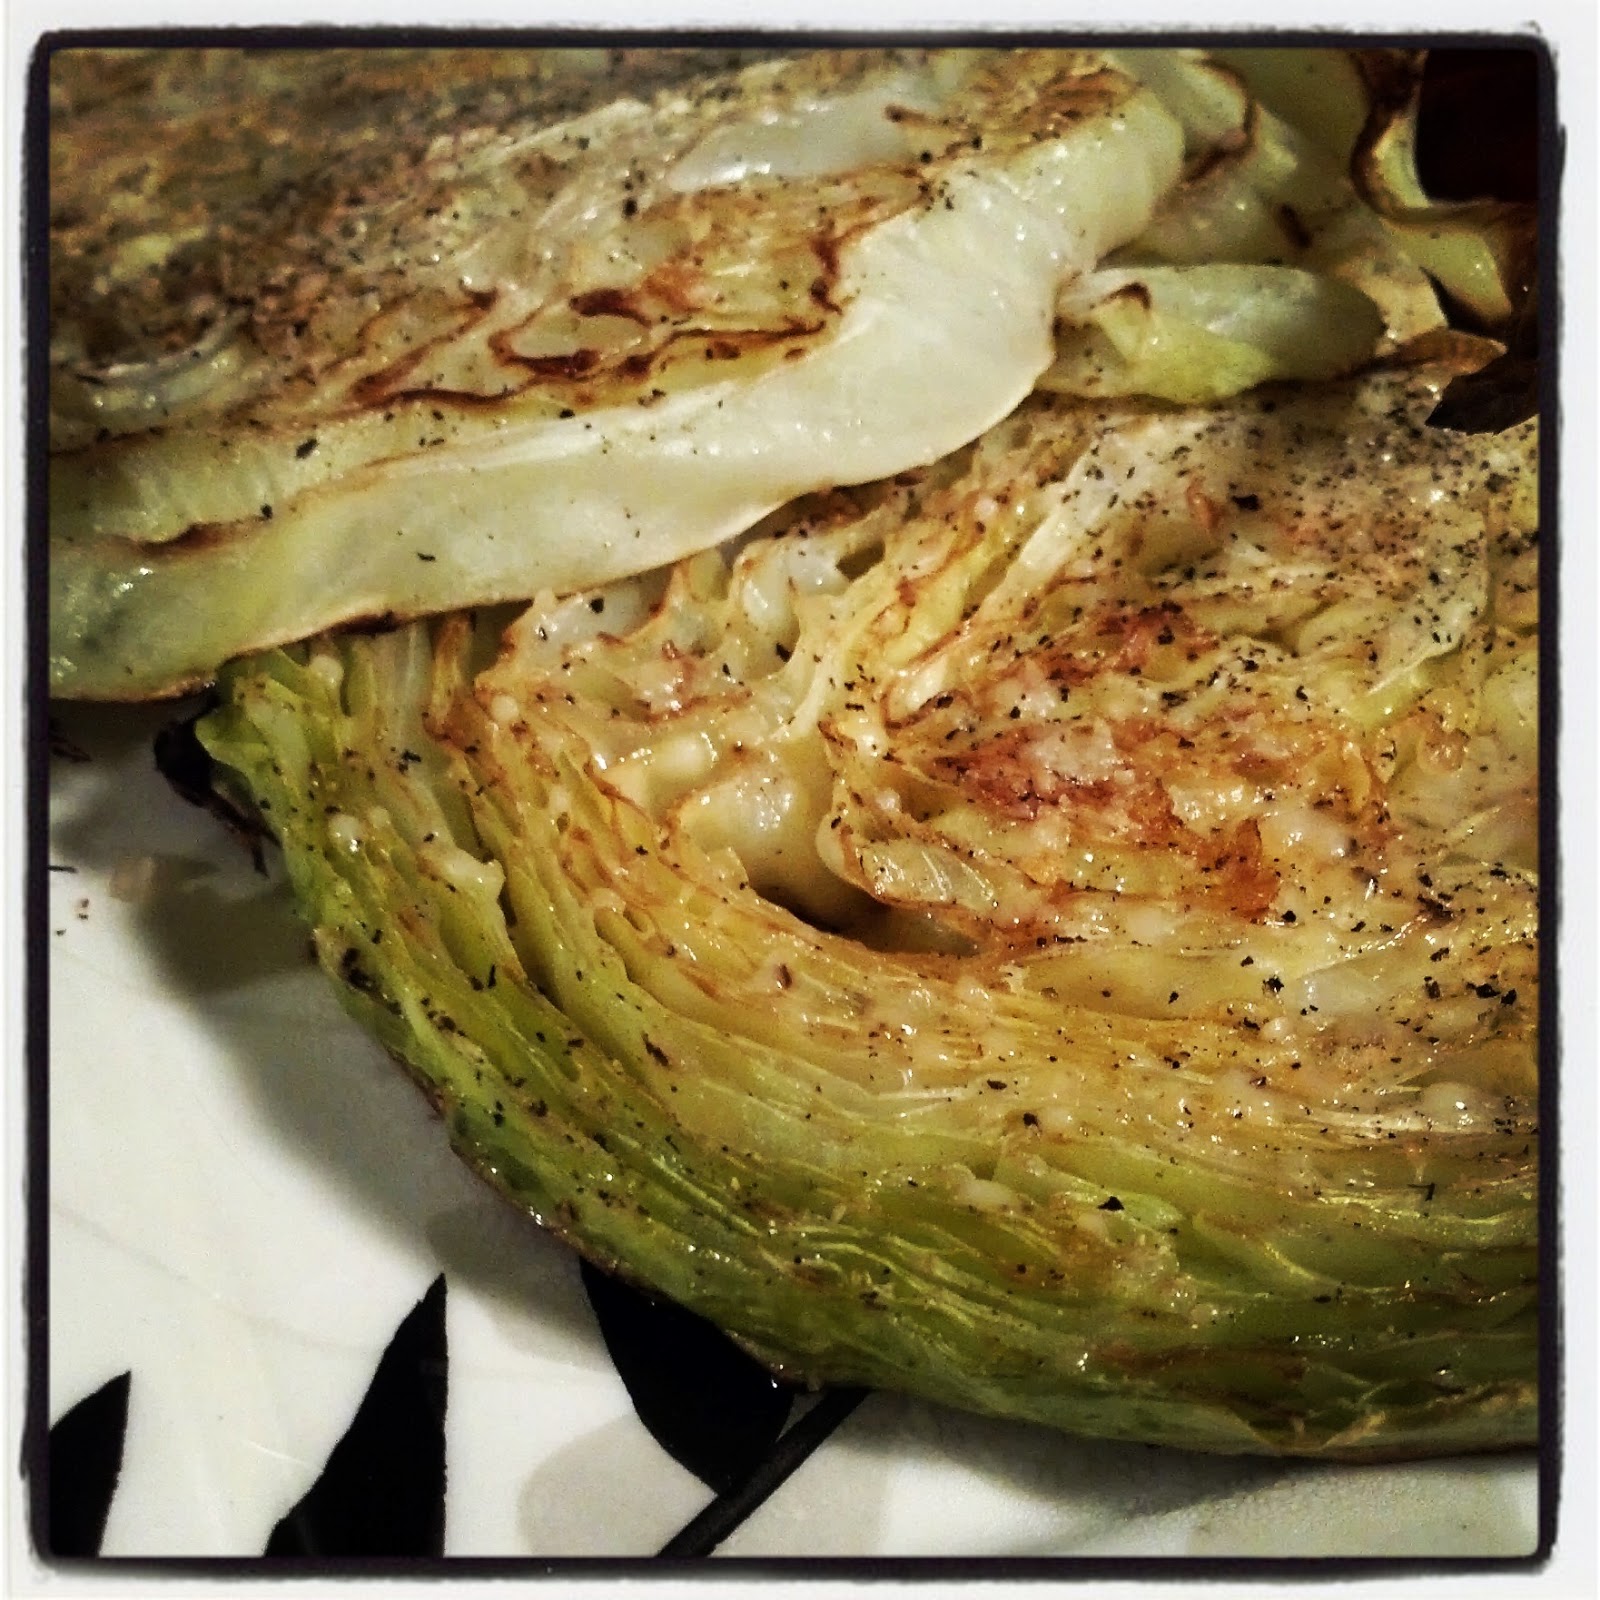
Roasted Cabbage Slices

Have you ever made something for dinner knowing full well that it probably wasn't going to taste that great, but since it was good for you, you'd make it anyway? As bad as that sounds, that's how dinner started last night. After my hubby and I got back from the gym, we set to work making some grilled chicken and roasted cabbage for dinner.

We figured the cabbage would be edible, but we never expected to enjoy it as much as we did! In fact, I made 4 cabbage slices for dinner (thinking we could have some leftover for lunches today) and it was all gone! I dished his plate, and as we were eating, he laughed, said "this is actually really good!", and got up to get a third slice. We will definitely be coming back to this one soon. :)


We started with wedges that were about 1/2 inch thick. 
Lay them out on a baking sheet that's lightly coated in olive oil.


Try to cut the wedges to the same width so they cook evenly.


Lightly spray tops with olive oil. (If you don't have an oil spritzer, you can also just brush it on lightly.)
Generously sprinkle with freshly cracked black pepper & sea salt.
(You can add garlic and other spices, too, if you'd like!)


Bake in a 400 degree oven for about 15-20 minutes or until bottoms are starting to turn golden brown.
Carefully flip over so the golden side is on top.


Top again with some more salt & pepper.


{At this point, I also sprinkled on a little fresh Parmesan cheese, but it really didn't need it.}


 Roast another 15-20 minutes until bottom is golden brown and cabbage is soft.
Serve hot.

(We were thinking they would be really good topped with a light sprinkling of fresh lemon juice, too!)


It's surprising how such a simple recipe can bring so much flavor to your meal. :)


Ingredients

cabbage
pepper (freshly cracked, if possible)
sea salt
additional seasonings, optional
Parmesan cheese, optional

Directions

Preheat oven to 400 degrees.
Slice cabbage in 1/2 inch slices.
Lightly spray baking sheet with olive oil.
Lay cabbage slices on baking sheet.
Lightly brush, or spray, slices with olive oil.
Top with seasonings.
Bake 15-20 minutes until bottoms begin to turn golden brown.
Flip over and top with more seasonings and cheese (optional).
Bake another 15-20 minutes until bottom begins to brown and cabbage is soft.
Serve hot.


Wednesday, May 29, 2013

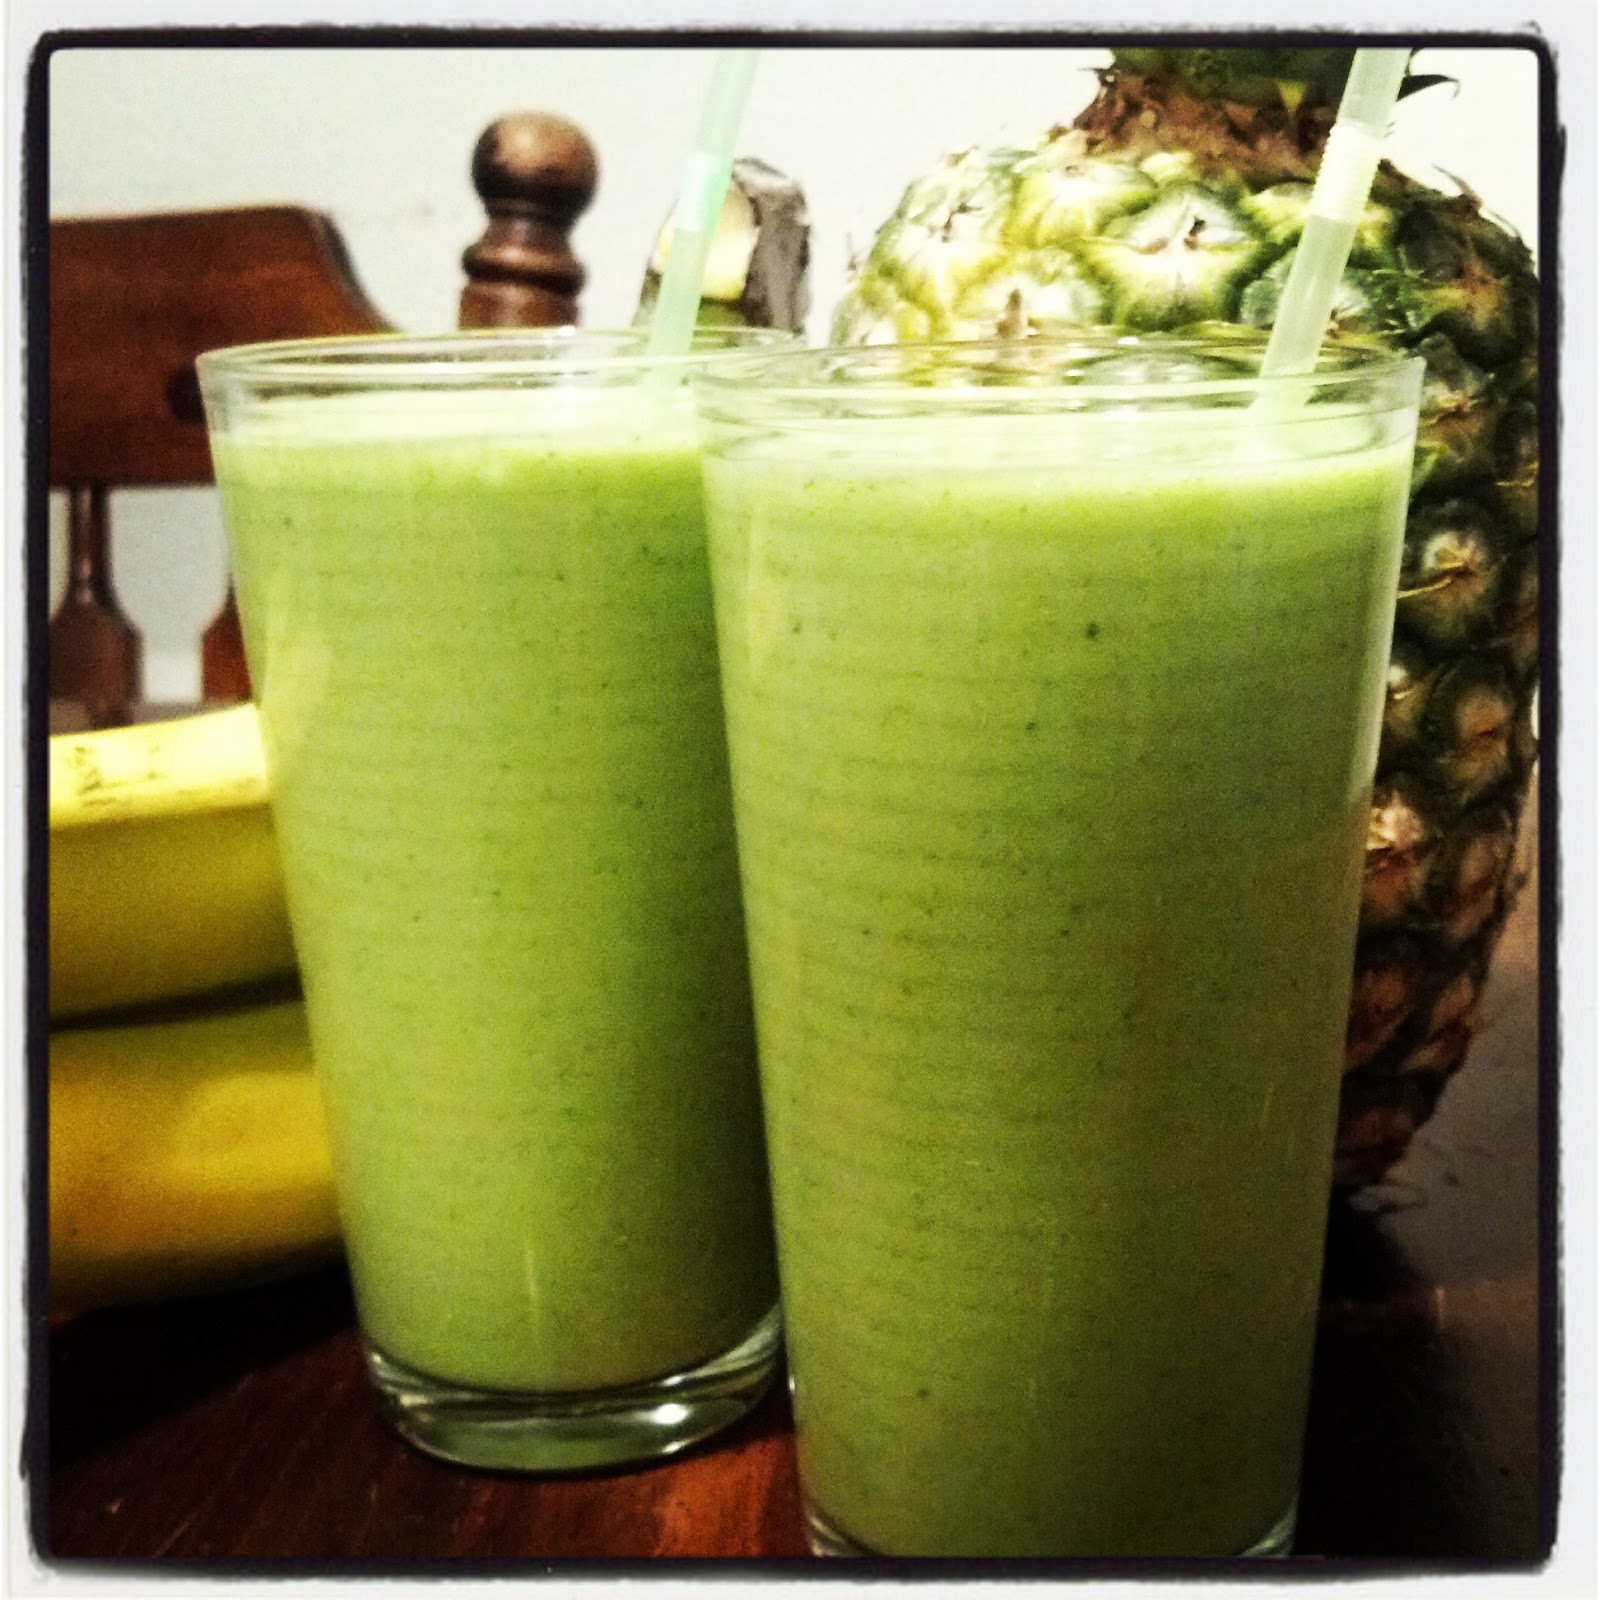
Naked Inspired "Green Machine" Smoothie

I'm starting to think that this whole healthy eating thing might actually be enjoyable. You're probably thinking "of course it is, you goof!", and I see where you're coming from. Don't get me wrong. Most of the time, I do like eating healthy and it makes me feel good, but then I see a chocolate chip cookie or french fries and all my healthy habits go flying out the window.

I have found that, for me to continue eating right, I also need to find ways to cure my cravings. I'm not one of those lucky people that can live without sweets. I love them! And I crave them often. But, unfortunately, I also crave salty, fried, sour & tangy foods. There is no pleasing me. :)

Now that I've been able to find some recipes for meals and snacks that are sweet or salty, yet still healthy, it helps me stay on track while curing those pesky cravings. (Check out my Easy & Healthy Ice Cream!)

For breakfast this morning, I made my hubby and I green smoothies for breakfast. It was the first time we've had homemade green smoothies and they were delicious! They reminded me a lot of the Naked Green Machine Smoothies (hence my title).


I put mine in a to-go cup for our drive to work, and he downed his while he got ready for the day. They were quick, easy, and a great way to have a healthy, filling breakfast. I think I'm going to try to fill freezer bags with all the ingredients (minus the liquid) and keep them in the freezer. That way we can just pull out a bag, dump it in the blender with the liquid, and we would be good to go!


Ingredients

2 large handfuls fresh spinach
1 large banana
1 c. pineapple
1 c. yogurt
1 c. filtered water

Directions

Toss everything in the blender & blend!

*Makes 2 smoothies. 
Drink both now, or cover one and put it in the fridge for later.


(Directions with Photos)

2 handfuls fresh spinach 


1 large banana


1 cup pineapple
(I had some fresh pineapple in the freezer which worked perfectly!)


1 cup yogurt
(If you're looking for some homemade yogurt, click here! It's really yummy and way cheaper!)


1 cup filtered water


Cover and turn on your blender.


I turned mine to the "liquify" setting which worked really well. 
Blend until all the little spinach pieces are gone.


Look at all that green, frothy goodness!


Now drink it up!


On the way to work, we were discussing all the possibilities with this smoothie. 
Here are some ideas we came up with:

Replace the spinach with:
kale

Add:
parsley
apples
blueberries
blackberries
strawberries
raspberries
mango
kiwi
carrots
broccoli

Replace the water with:
fruit juice
coconut water

So many options! :)


Tuesday, May 28, 2013

Chicken Avocado Summer Wrap

After eating dinner tonight, my husband and I were discussing what to call this wrap. He came up with "summery" then said "that's all I've got". At least I got one idea out of him. :)

No matter what you decide to call it, it doesn't change the deliciousness of it! We were going for something summery, filling, healthy, and yummy, all in one wrap. I think we got it.


Ingredients

grilled chicken
avocado
tomatoes
red onion
fresh spinach
couscous (or quinoa)
wrap or tortilla

We would advise you to serve your wrap with some sort of condiment, so it's not too dry. 
Some suggestions would be fresh lime juice, mustard, vinaigrette, ranch dressing, etc.


We came up with this wrap as a way to use up this leftover chicken in the fridge.
It was seasoned with lots of garlic, pepper and Cajun, as well as some other spices. 
We like our chicken fairly spicy, but season yours to your liking.


Slice it up into strips. You can have it cold, but we wanted it warm. I threw it in a hot saute pan and poured about a tablespoon of water onto the chicken, covered it quickly and left it on medium heat. 
It reheated the chicken perfectly while keeping it moist as the same time.


While the chicken was reheating, I made some couscous.
(If you've never made it before, just bring your water to a boil. Stir in the couscous. Cover and remove from heat. Let sit 5 minutes, then fluff with a fork. {I used 1/2 c. water and 1/3 c. couscous.} You can add fresh or dried herbs and seasonings, as well.)


Wash your fresh spinach.


Chop up your fresh veggies.
We used avocado, tomato, and red onion.


Select your wrap.
We saw these at the grocery store and decided to give them a try. 
They were pretty good, but I think a spinach or sun-dried tomato tortilla would be even better!


 Spread a bed of couscous on the center of your wrap.
Throw all your veggies and chicken on top of the couscous.


Roll it up.


Enjoy!
Tony enjoyed a little Jack Daniel's mustard on his, whereas I liked mine with fresh squeezed lime juice. Experiment and find your favorite!


Saturday, May 25, 2013

Easy & Delicious Fruit Dip

 It's the weekend! Since it's not just any weekend, you've probably made some plans to celebrate. If you're going to a party and need a dish to share, look no further. I made a fruit tray to share with my in laws this weekend and it went over really well. It's quick, easy, and most importantly...delicious!!

Honestly, I think the dip was even better the next day! :) 


Ingredients

1 container  (8 oz) cool whip
6 oz Yoplait strawberry yogurt
2 Tbsp frozen raspberries, thawed

Directions

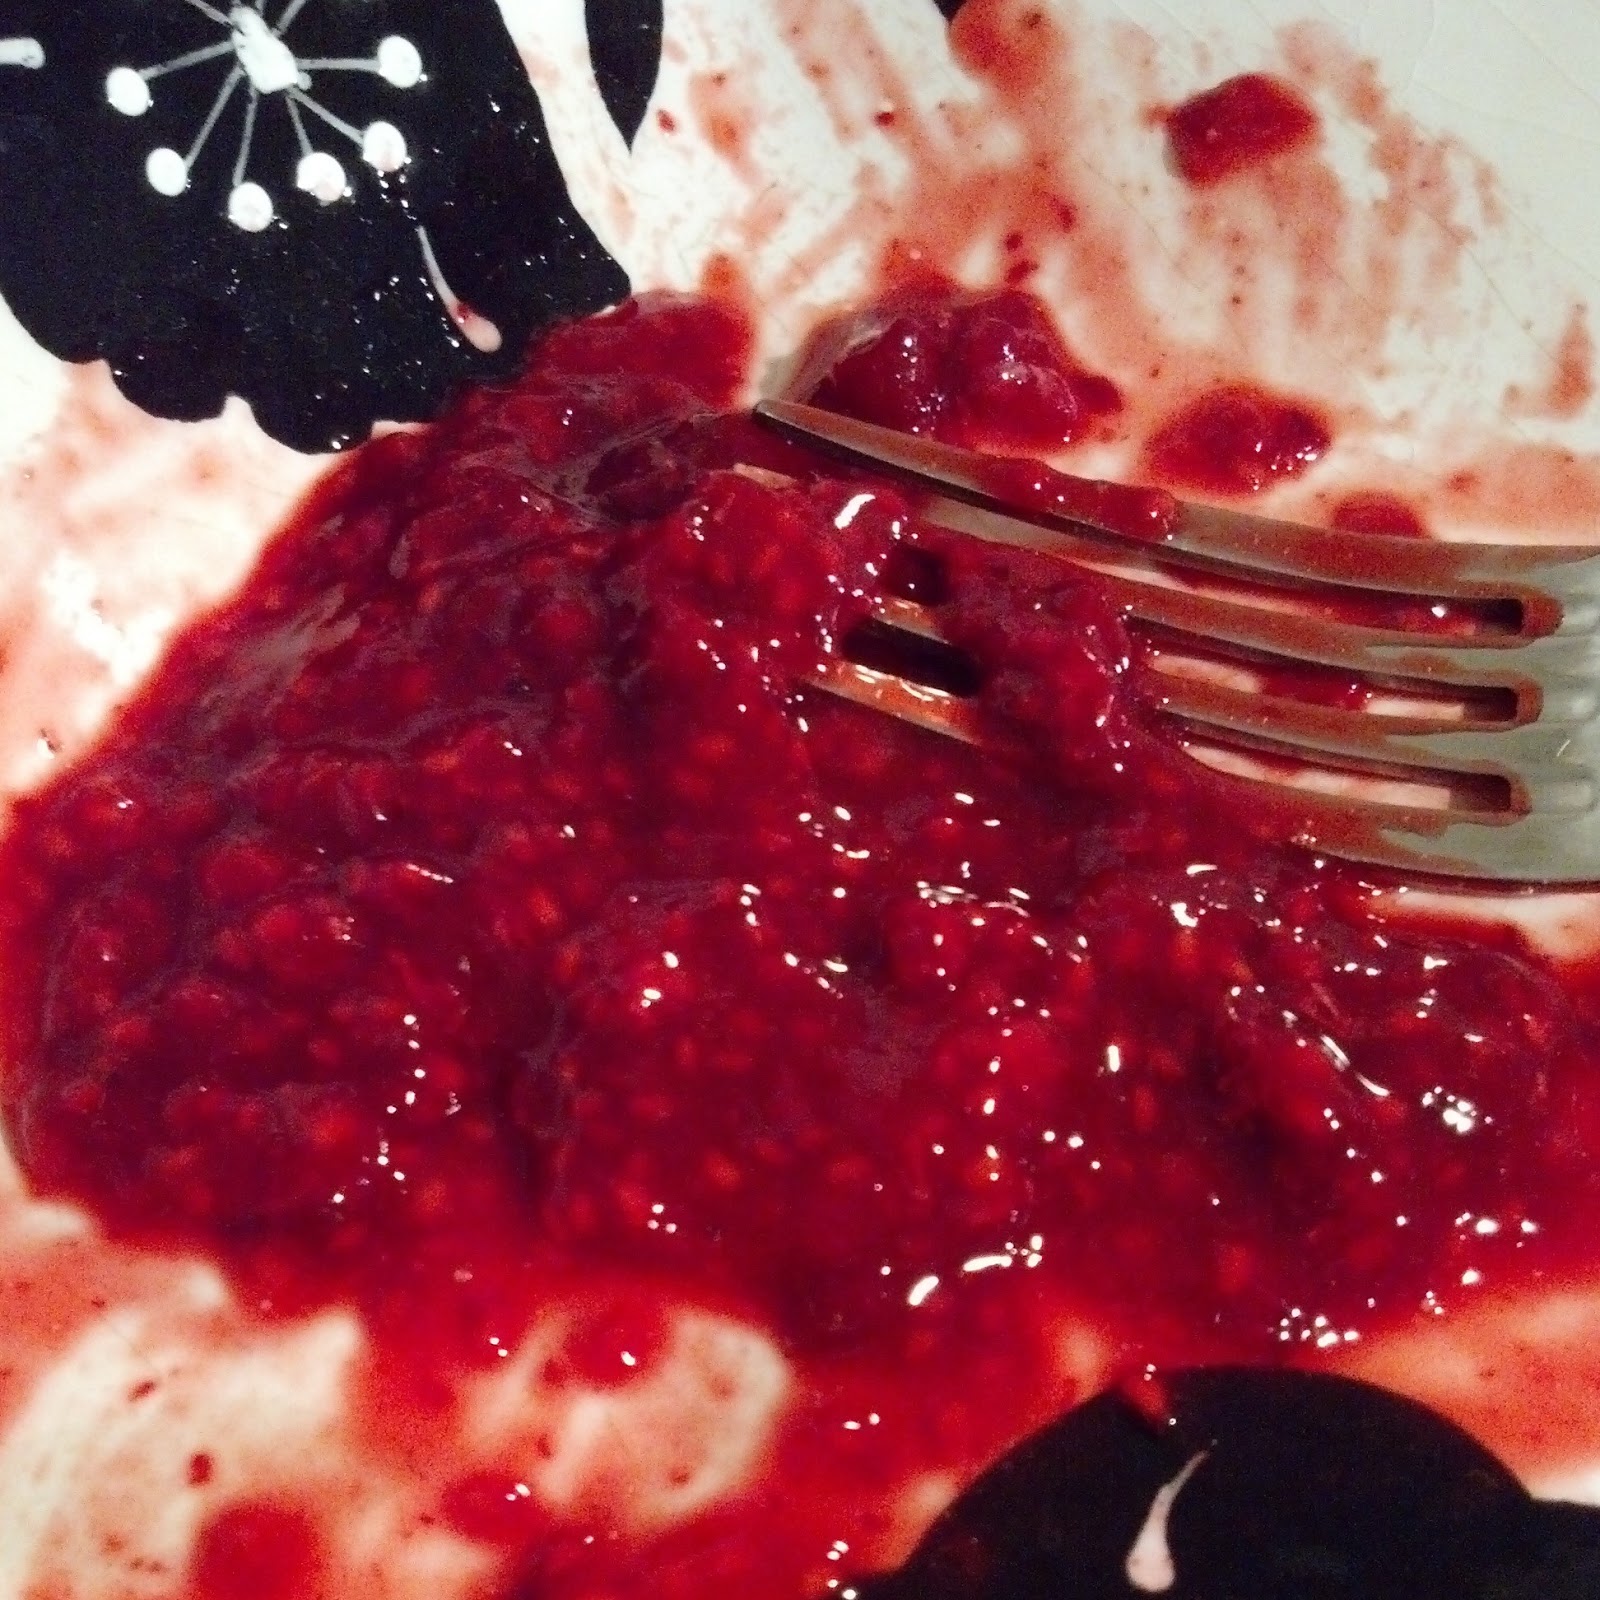
Thaw and mash raspberries.
Mix well with yogurt and cool whip.
Serve with fresh fruit.
(Can make the day before serving and refrigerate overnight.)


(Directions with Photos)

Thaw and mash raspberries.


Mix well with yogurt and cool whip.


Can make the day before serving and refrigerate overnight, or serve immediately.


Serve with fresh fruit.
(If you're serving apples, be sure to soak them in water splashed with lemon juice or salt first, so they don't turn brown.)

Enjoy!


Check these out!