Search This Blog

Showing posts with label Household Cleaners/Tips. Show all posts

Tuesday, October 13, 2015

Baby Wipes

Two months ago my husband and I had our first baby, a wonderful, healthy baby girl. :) Now, if you have had (or have) a newborn, you know that you go through a TON of diapers and wet ones. My husband had went out and bought three big containers of wet ones and we used them up in practically no time flat! 

So...I decided to look up a “recipe" for wet wipes and I love them! They don't save you a ton on cash, (they do a little bit) but it's wonderful knowing exactly what is being applied to your little one's skin. ;) Below are the ingredients. I've made them a couple times now and changed the original recipe a little bit.  I've found that the changes I made works better.  You may need to adjust things for your recipe, too! :) I made this recipe for two containers of wet wipes. 
*NOTE: This recipe makes 2 containers of wet wipes.


What you'll need:

2 Wet Ones containers
1 roll Viva paper towels

Divide the following ingredients in half so you can make 2 containers:
4 Cups Water
2 Tbsp Baby soap (your choice)
4 Tbsp coconut oil
6-10 drops essential oil, optional

You are going to have to buy two commercial containers of wet wipes before this little project due to the fact that you will be using the containers.  Otherwise, you could find a jar or other container that they would fit in, if you'd prefer.


1. Before you start the “hard work" of this, put the water in a pan and let that start to boil. As soon as it starts to boil, turn off the burner and remove from heat.

2. Let the water cool to room temperature before adding the ingredients. (This step will help keep the wipes fresh and not become moldy.)


3. Now for the hardest part of all - cutting the roll of paper towels in half. (I found out after I did this that you should probably NOT use a serrated knife for this step.  It shreds it a little - as I found out!)


4. Once that is all finished, wipe off the excess paper towel pieces and put each half into a container so that they are "standing up".
Hopefully, if you use a knife that isn't serrated you won't have as big of a mess as I did. Haha :-)


5. Dividing the liquid ingredients, combine 2 cups of the boiled and cooled water in a small bowl.  Add 1 Tbsp of baby soap and 2 Tbsp of coconut oil.
If you are adding essential oils, add 3-5 drops.  
Mix until coconut oil is dissolved.
(Be sure not to stir too much otherwise it will become very sudsy.)


6. Next, pour the mixture over the paper towels.
Press the top of the paper towels down a bit.

**Repeat steps 5 & 6 for the other container.


7. Close the lids and flip the containers upside down.
Leave them upside down for about 5 to 10 minutes.


8. Flip the containers back upright and remove the cardboard pieces inside the paper towels.


9. Pull the first wet wipe from the center (where you pulled out the cardboard) and push it a little through the top of the lid.


And there you have it! :)


Tuesday, August 4, 2015

Laundry Stain Buster

My sister asked me a couple months ago why I make things myself rather than buying them. (Such as our body wash, laundry detergent, etc.)  It got me thinking about why I take the time to make all these items.

1.  It's cheaper.  More often than nought, I take the time to do it because I believe that the amount of money we save by "DIYing" is worth the time it takes to make it.  Once I find a recipe that I like, it really doesn't take all that long and I can usually work on more than one thing at a time.

2.  I have to buy less often.  When I make something myself, it's generally "bulk-sized", so we have to restock fewer times. Since it's also cheaper to make it at home, we are, again, saving money.

3. It's healthier.  Most of my DIY items aren't made of all natural, organic ingredients, but there are some that are truly healthier than commercial products.  It may seem a little counterproductive for me to make chemical-free lotion bars, then turn around and slather my face with chemical-laden make-up, but I believe that even a small difference is still a difference.  I know we don't live as healthy as we should, but we do live healthier than we could. :)

4.  They work better.  Yes, I know this doesn't apply for all things homemade, but you would be surprised at how many things DO work better.  If I decide that a product works about the same whether it's homemade or commercial, I try to look at the other reasons before deciding to continue making it.  Is it cheaper?  Is it healthier?  Is it worth it?  For example... my homemade laundry detergent.  We have been using this detergent religiously for over 3 years now.  I still love it!  And the cost difference is amazing!  So, yes, it's definitely worth it to take 10 minutes out of my day to mix up a batch of detergent once a year!

5.  I love it.  My last reason is my best answer to the question "Why do you do it?"
I love being able to make a product that actually works.  There is something about the "homey" feeling you get when you can create (or recreate) a product for your family to use.  Whether it's making some homemade makeup remover wipes or a denim pie iron bag to take camping, it makes you feel a little more domestic in this busy life.  I just simply enjoy it.

I have been in search of a stain remover for awhile.  When I came across a post about homemade "Shout" on the blog, One Good Thing By Jillee, I knew I had to try it.  We've used it on a couple of articles of clothing already and I was amazed at how well this worked!  I wet the fabric down a smidge, sprayed some of this on and rubbed it in.  Then, I let it rest for a couple of hours before tossing it in the wash.  Simply unbelievable.  Next time I will be making the full batch instead of a half. :)


What you need:

empty spray bottle
funnel
3 Tbsp. baking soda
1 c. warm water
1/3 c. ammonia
1/3 c. Dawn original dish soap (the blue kind)

Using the clean, dry funnel, pour the baking soda into the bottle.
Add the warm water and swirl until mixed well.
Add the ammonia and dish soap.
Shake to mix.


To use:

Shake well before each use.
Wet fabric slightly with water.
Spray Stain Buster directly on stain.
Rub into fabric.
Let rest at least 2 hours, or overnight.
Wash as normal.
(On really tough stains, I will sometimes spray and rub once more after it rests, just before I toss it in the washing machine.)
*Do not use with bleach!
(*You may want to test on an inconspicuous spot on the fabric.)

  This stain buster has worked wonders for our clothing! However, my husband has a pair of coral colored shorts where it removed the dye. Other than that, it has been awesome with our whites and colors alike! So if you are worried about ruining a piece of clothing, I would suggest doing a test run.  :)


I labeled mine using the label maker we got from my parents for Christmas last year.  Seriously one of my favorite gifts ever!  

Since there is ammonia in this, be sure not to mix with chlorine bleach!  I would suggest somehow noting this directly on the bottle.  If you don't have any labels of any sort, just write it directly on the bottle with a Sharpie.  :)

**Note: the baking soda does tend to settle after it rests, so be sure to shake it up well before each use.


Friday, March 20, 2015

Replacing Wax---the easy way!

"Um...how about No!"
"Please!"
"Ugh...they stink!"
" Honey, honestly, they don't have an offensive smell!"
" Pet stores smell like hamster cages.  Ick!"
"I promise I will keep their cage clean."
"Fine!"

That about sums up my concern when my child at heart husband announced he wanted to get a couple of iguanas.  Expressing my concern was necessary as I really dislike the smell of pet stores. After our discussion :), we agreed we'd give it a try. Although they don't make the house smell like the hamster cages I associate with walking in one of those stores, I still find I am not particularly fond of it of what it does smell like. He was right, it's not a bad smell.  However, I definitely wouldn't say it smells like a bed of roses either. ;) 

With that said, I wanted some "smelly ideas" to keep my living room (yes, they live in my living room) smelling nice. I absolutely love my wax pots, but I don't like cleaning out the wax when the smell is gone.  It's just messy and annoying.

NOT ANYMORE!  I found the following idea and it's fantastic!

Now, we're both happy.  He gets his crazy pet and it smells better!

All you need is:

A wax pot
"Expired" wax
Cotton balls
Aluminum foil (optional)

(Sorry for the horrible pictures ;)


1.  Keep your lamp plugged in so the wax stays liquefied.


      2. Throw a couple cotton balls in the wax.


3.  Let sit for a minute to soak up the majority of the wax. 


4.  Use a few more cotton balls to wipe out the excess.  I throw the cotton balls on a little piece of aluminum foil to be sure there won't be a waxy mess, but that's up to you. 


5.  Add your new wax cube. DONE!  The room smells good again. ;)

Wednesday, April 16, 2014

Organizing DVD's and CD's


Don't we all wish we were a little more organized?? Here is a simple solution to keep all those photo cd's, games, and dvd's a little more organized!


Now you will be able to fit this big pile of games into a small amount of space.  Not only will it look neat, you will be able to easily access them all! :) 
Now you can decide 
if you want to alphabetize all the games or not... I don't and my kids don't seem to mind. They don't usually even know what game they are looking for until they flip through it and find the "right" one.  ;)


All you need to purchase is the photo books along with the sleeves. They can be found in the photo section of most major retailers. I found mine at Walmart.  The "book" was less than $4 and I paid less than $1 for every 5 sleeves to slip the games in.

Now all you need to do, is to remove the games from the original package and insert it into a sleeve and put it into the correctly labeled book. Next step...chuck the original packaging! Yep, as in throw the case in the garbage! I know this may be difficult for some of you but trust me, you will thank me later! ;)

I use this simple solution for all of our video games, all of our photo cd's (lots), and all of our dvd movies!! I can't believe how much space this saves...and everything is so much more organized!
Something about organization makes me happy. ...hope this makes you happy, too!! :)

Wednesday, September 25, 2013

Keeping a Clean House

Have you ever had the desire to be completely organized? I know I've told you that I've been going through this phase lately. I have cleaned every room in our apartment. (Yes, that means EVERYTHING!) Cupboards, drawers, under furniture, re-folding everything. I've even gone as far as cleaning our cleaners and washing our mop.)  I may be going a little over the top OCD.

After dinner the other night, my husband went to get ready for bed and I told him that I was just going to pick up the kitchen a bit. I really intended to just get the dishes in the dishwasher, but by the time he got out of the shower, I was done with the dishes, mopping the kitchen and getting ready to vacuum the livingroom. He teased me that he doesn't clean as much anymore because his cleaning wouldn't be good enough.

There are days where I'm more lazy than necessary, but a lot of the time I just can't leave something alone when I know it's messy. Especially at night. I like it clean so that I can wake up to a clean home as I start my day. You can't beat walking into a shiny clean kitchen early in the morning as you start your pot of coffee!

Also, in an effort to stay organized, I make a lot of lists. They may not always be neat lists, but they help me put into perspective the things I need to accomplish.

Weekly Menu
Grocery List
To-Do Around the House
Exercise Routine
Gifts for Birthdays/Weddings
What Needs to be Cleaned
Bills to Pay

Most of these start out being scribbled down on paper, then typed out onto a document on the computer once I know it works. This particular piece that I'm sharing with you today has been working really well for us! Granted, we only have the two of us in a small apartment, so our cleaning list may not be exactly what is going to work for your family. (For instance, most families may not be able to get away with only doing 1-3 loads of laundry each week.)

I tried to make it workable for bigger families, as well as smaller households. There are also a few things that may look extreme to do so often, but I have found that by putting it on my lists, it gives me the reminder to check and see if it needs to be done. If it's on my list to change sheets & pillowcases each week, but we hadn't had anyone sleep in the guestroom since they had been washed last, then obviously I'm not going to strip the clean sheets off.

There is also a task listed to bring the "Donate Box" to Goodwill. This is just a designated box (or basket, cupboard, etc.) specifically for items to donate. If you have this space set aside, it makes it easier to stay organized with your daily "pick up". {How many times do you see something in your house and think "Does anyone use this anymore?" or better yet "This doesn't even fit anyone that lives here."} When you see these random items, or your kids come into the kitchen with pants that are 3 inches too short, just drop them in the box (the pants, not your kid). At the end of the month, take all these items to your local thrift store or homeless shelter. It helps you keep a cleaner, more organized home, as well as helping people in need. 


It also may seem like a lot of work to clean the old/expired items out of your fridge each week, but believe me, it's easy! Friday is usually my day to do all my weekly tasks, so that morning I grab the trash can, sort through the leftovers that are no longer good and check the expiration dates on the condiments and other items. {It helps me to keep a roll of masking tape and a permanent marker near the fridge. When I put any leftovers away, I attach a piece of tape and mark what is in the container and the date. I also try to mark the date on a package when I open it. It's a quick, cheap, and simple way to keep your fridge and pantry organized.}


By doing each of these little things on a regular schedule, it makes my life easier. I don't feel overwhelmed when I think about cleaning our apartment. I actually enjoy it! Beside each task is a small box to check off. At the top, there is a box for each week and the month to mark once it's completed. There is definitely a satisfying feeling that sets in when you finish your housework and you can check off those boxes!

 I think that's all I have for now, folks. 
If you have any questions, feel free to comment! I hope this helps make your life a little bit easier! :)


Saturday, August 31, 2013

DIY Carpet Powder

Have you ever used Carpet Fresh powder? Or maybe you still do. I remember when we were little, Mom used to buy it all the time. I enjoyed watching the spread of white powder all over the carpet get sucked up by the vacuum cleaner. What a weird child.

They actually advertise that they use a baking soda formula to eliminate odor. Now don't you think it would be cheaper (not to mention healthier since it wouldn't have the added chemicals!) to just make it at home? 

I whipped some up today before I started cleaning. I sprinkled it all over the carpets, then went about my other chores. By the time I came back to vacuum it all up, our apartment smelled so fresh and clean. After I was done, I got down on the floor and smelled the carpet. Don't judge. I only did it to see whether or not it really worked, so that you wouldn't have to. Well, good news...it does! I even enjoyed vacuuming! Being able to use my "new" Kirby vacuum, while making the carpets smell fantastic, gave me a feeling of accomplishment. I know, it doesn't take much to please me.

Disclaimer: Product not guaranteed to make you enjoy vacuuming or any other household chore.


All you need is baking soda and your favorite essential oil.
(I used pink grapefruit. It's smells delicious.)


You'll also need a container to store your powder in. 
I grabbed a pint sized canning jar and the lid to a Parmesan cheese container. 
It works perfectly!


Sprinkle your baking soda into the jar.


Add a few drops essential oil.
(You can always add more if you want a stronger scent.)


Cover and shake!
(I used a regular lid to shake it up, so it was fully sealed.)


To use, sprinkle onto your carpets. Let sit 30-45 minutes. Vacuum.


I would love to have you comment and share your favorite essential oil scents to clean with. :)


Monday, August 12, 2013

DIY Laundry Detergent

I am so excited to share this post with you! Well over a year ago, I decided to try making our own detergent at home to save money. With just my husband and I living here, we don't go through a whole lot of laundry, but it seemed like we were still spending an enormous amount on laundry detergent. Before we made our own, I looked up many "recipes" to read reviews and see what I wanted to try. (There are so many versions of this recipe with some variations. If you would like the website of my recipe's inspiration, click here.) We decided that we would try it, but were still curious as to whether or not we would actually like it. There were a few stipulations.

The homemade detergent had to... 
1. Be affordable.   
2. Smell really good.    
3. It had to actually work!
4. Be easy to make.    

Good news...
This detergent is all of the above! We have been extremely happy with it! Like I said, we made it over a year ago, and I JUST ran out on Friday! (Plus, I had given small containers of it to my mom, sister, and brother to try, so it actually would have lasted even longer!) When I originally read the recipe, it stated that it would supply a family of four with 1 YEAR worth of detergent! I don't know what you spend to keep your laundry clean, but that was a huge savings for our little family!

Before I made another batch last Friday, I asked my husband if he really liked it well enough for me to make the same recipe again (since we would have it for at least another year and a half!), and he gave me the go ahead! :)

Here's what YOU need to make your OWN! 

1 box (76 oz) Borax- $3.38
1 box (55 oz) Arm & Hammer Super Washing Soda- $3.24
1 large bottle (55 oz) Purex Fabric Softener Crystals (your favorite scent)- $8.96
1 large container (5 lbs.) Oxi Clean- $9.47
2 cups Arm & Hammer Baking Soda- about $1.00?
3 bars (5.5 oz each) Fels Naptha- $0.97 each

TOTAL: $28.96!!

{The prices are what I paid at the Walmart in my city. They may vary where you are located, or you could probably find them all online, as well.}


The only tricky part about using this detergent is the Fels-Naptha. The first batch, I used a cheese grater to grate it into little strips. We would start the load in hot water, swish it around real good, then change the temperature to what we needed it to be and added the clothes. If we didn't let it dissolve a little, we would get tiny chunks of soap on some of our clothes. {That wasn't fun when washing a load of darks!} Once we got used to letting it dissolve a little, it takes very little time and it's just second nature now when doing laundry. 

However, with the tip from Jillee on One Good Thing By Jillee, I used the food processor to grind the soap this time. That works SO much better! If you have a food processor, I highly recommend using that. :)


Start by chopping your soap into small chunks.


Throw it into your food processor.


Add about 1-1 1/2 cups of Oxi Clean.


Pulse the food processor a few times to break the chunks up.


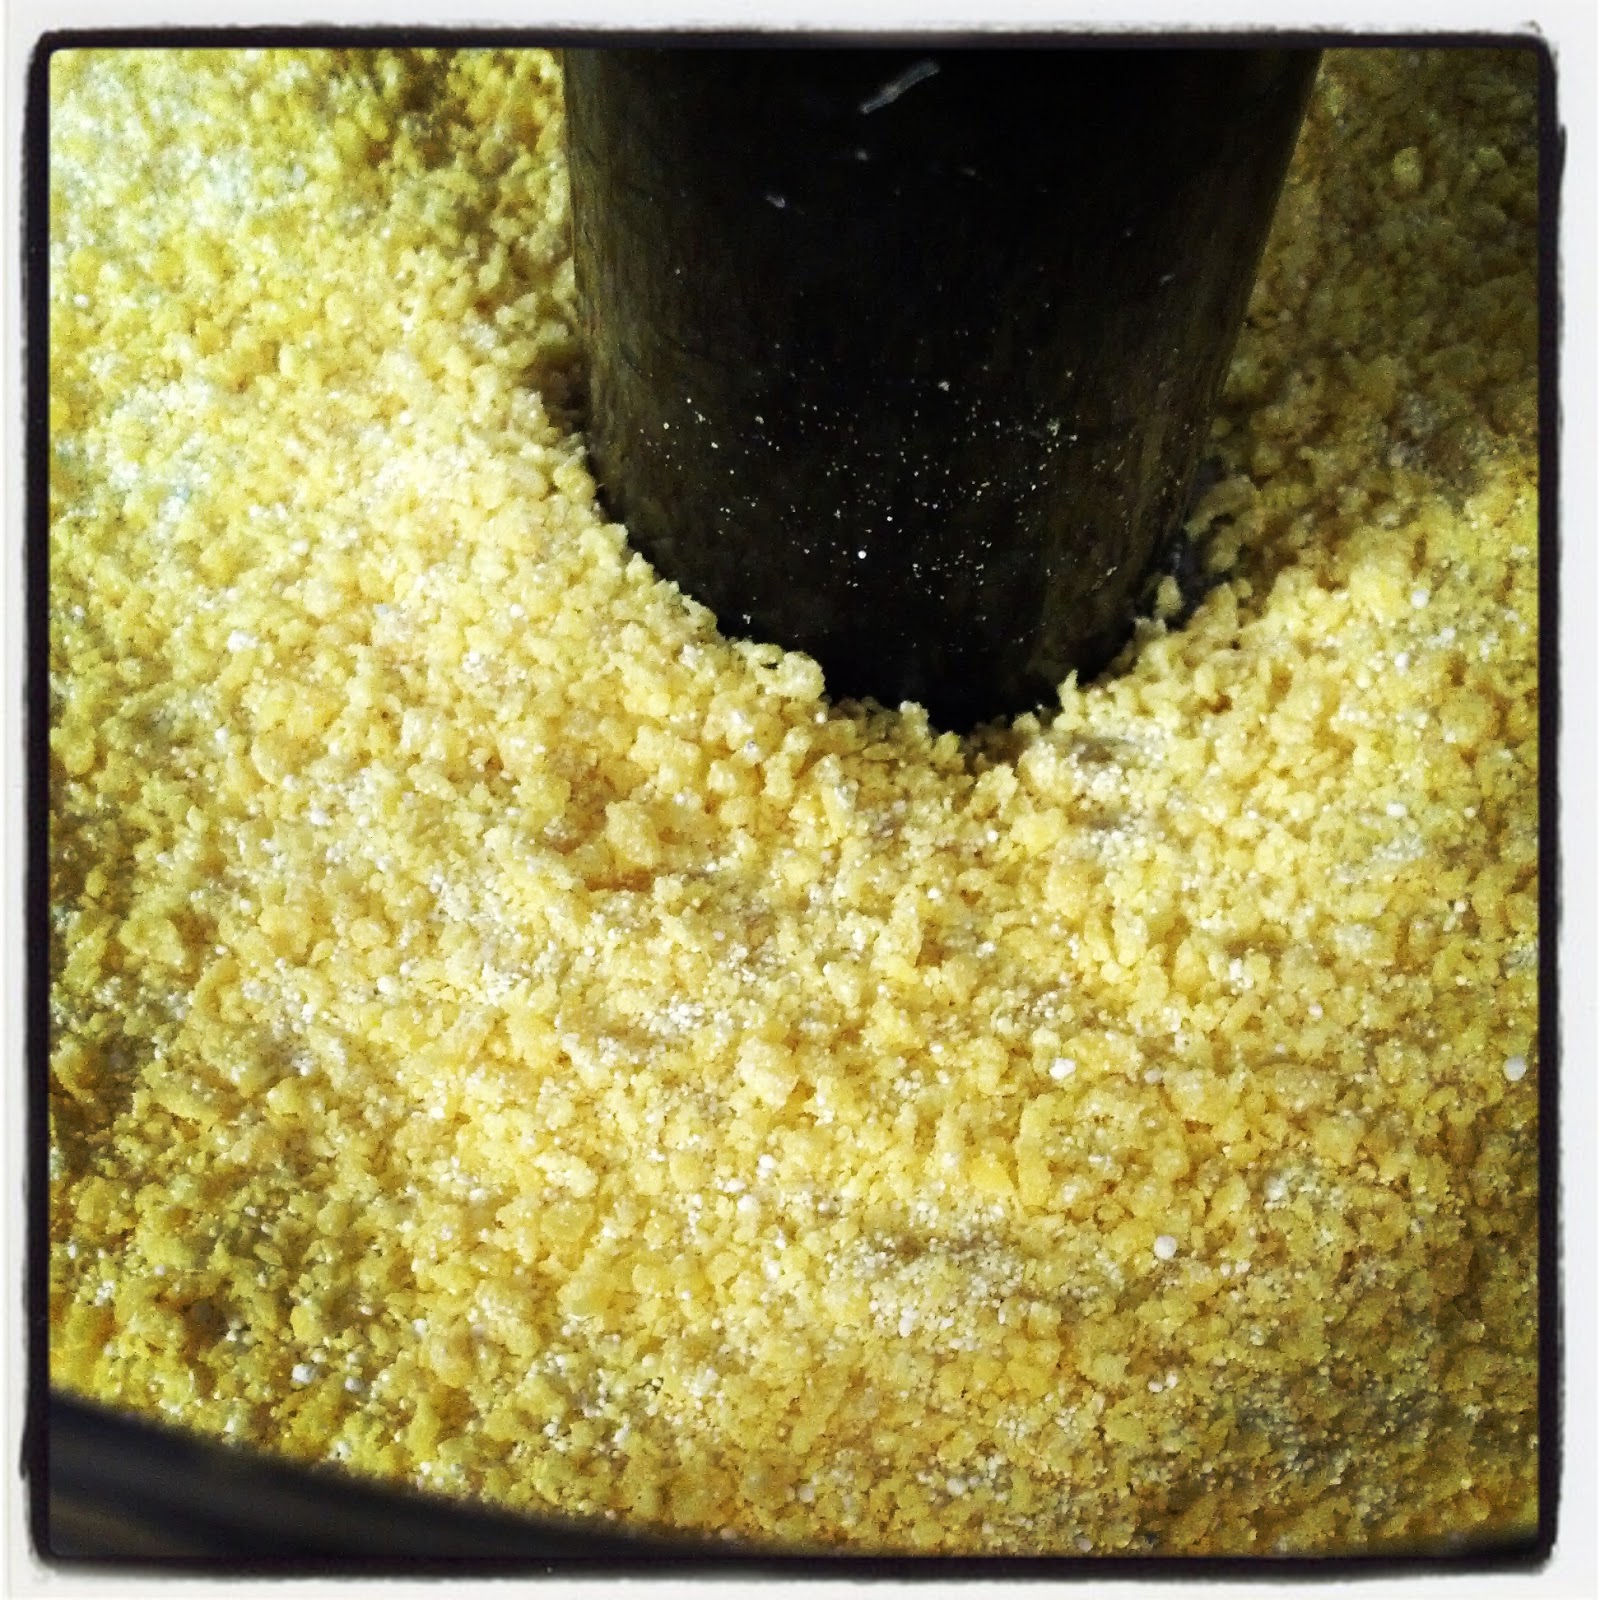
Then turn the speed up and blend it until it turns to tiny beads.


In a large container, add the borax, washing soda, and baking soda, stirring together.
(I just used my hands to mix it around. Kinda makes me want to get a desktop zen garden...)


Pour in the Oxi Clean, soap pieces, and fabric softener.


Stir it up really well.


Transfer mixture to your containers and store with lids.
(All those containers are full!)


{To make things easier while doing laundry, I attached some sticky-backed velcro to an old coffee scoop and attached the other piece to the bottle.}


Use about 2 Tablespoons of detergent per load.


*Note: If you are sensitive to detergents or softeners, you are able to omit the Purex Fabric Softener Crystals. (You will still get clean laundry, just not the "pretty" scent.)


Tuesday, August 6, 2013

Cleaning Your Cookie Sheets

As you have probably already realized, I kind of have a love for trash. Not real trash like the old french fries that you found under the back seat of your mini van last night, but trash that can be upcycled or revamped. I'm somewhat limited to my projects in our apartment, so I'm looking forward to the day that we can move to a house.  Preferably one with a garage or shop that I can use to attempt my crazy ideas. :)

As it is, I have to keep my trash-saving mindset to a minimum while we're still living here. However, I found one of these items this past weekend while garage saling with my sister-in-law that I just couldn't pass up. It was a cookie sheet that was on sale for $0.25! I only have one cookie sheet and have been wanting to get another. I decided to buy it and figure out how to clean it. It was pretty gross looking, but for only $0.25, I figured I wasn't losing much if I ended up having to toss it out.


I will share with you what I did to get it clean. I hope it works for you as well as it did for me. While scrubbing it clean with a smile on my face (I was getting pretty excited that it was working...), my husband teased me that I was weird for actually enjoying it. 

What you need:
baking soda
hydrogen peroxide
scrubby pads (not sure what they are actually called)
 & a nasty pan to clean :)


Fill a small bowl with some baking soda.


Add just enough hydrogen peroxide to create a paste.


Spread the paste on your pan and start scrubbing.


Now, I won't lie. This does take a bit of elbow grease. :)


Rinse, if needed.
{It's coming along nicely so far...}


Scrub again to get the remaining residue. 
Then, rinse, dry, and be happy. You're done. :)


**Here are some other posts we have for cleaning, if you're interested. :)


Friday, July 26, 2013

Removing Wax from Candle Jars {the easy way!}

I have been deep cleaning our apartment recently. Room by room, closet by closet, I'm scrubbing and getting rid of everything we don't use or have a sentimental attachment to. Don't worry, I'm not going too overboard...I'm still squirreling away some junk for my crafts later. I even have a special drawer for those items now! :)

It's been quite a process though. I knew we had a lot of stuff, but I never quite realized the full potential our small apartment had for hiding crap. I don't even know where it all came from!

Anyway...have you seen my sister Tricia's post about the makeup brush holder yet? (If not, click here to see it!) I loved that idea, but I didn't have a cute little container to do it for myself. I was going to run to Goodwill and find one, then realized my whole point of deep cleaning was to get rid of the junk I kept bringing in all the time. {I've never claimed to be very bright.} I decided that if I wanted to make a brush holder like my sister's, I was going to have to find something to use that we already had in our apartment.

I wasn't coming up with anything until I came across this old candle. It was perfect! Large enough to fit all my eye-makeup brushes, yet small enough that it didn't take up a whole lot of room. The only downside was that it was still holding a ton of wax at the bottom. I don't like cleaning candle wax. I used to try to melt it down in the oven, then pour it out and chip away at the leftovers once it cooled. Then, I would get frustrated with the streaky residue always left behind after scrubbing.

Well, guess what? I now have a tip for you that will forever change the way you feel about cleaning candle jars! {That is, if you actually keep your candle jars. You may think this is another one of my hoarding moments, but honestly, some candles come in really cute jars and you can reuse them in really unique ways! Try it.}


Directions


Choose the old candle that you want to use.


Place it in the freezer for at least 2 hours. 
When you pull it out, you will see it pulling away from the edge and cracking slightly.


Take a butter knife and gently break a chunk.


Use the knife to push and slide, and break more frozen wax chunks.


Dump the wax in the trash. 
(Or, if the scent is still strong enough, re-melt it for another candle or to make some scented wax cubes for your melting pot.)


Wash it in hot, soapy water and everything will come right out! No joke!
If you are having a hard time removing the residue (which is unlikely), use our DIY Goo-Gone/Gunk Remover. {Click here to learn how to make it.}


You now have a perfectly clean candle jar, and nobody will guess it took you such little effort to clean!


Look how perfect it was for my brush holder! (Thank you, Tricia for this idea!!)


I now have another candle (with a lid!) that I've been burning down just so I can use the jar for cotton balls. :)


Check these out!