Search This Blog

Monday, December 29, 2014

Grape and Orange Salad

Are you in need of a quick salad? Go ahead and try this grape & orange salad. I dare you.

The original recipe called for just grapes, but we had oranges so I decided to toss them in. Now I keep thinking about all the other combinations I could use. You could toss in a variety of different fruits. Blueberries, strawberries, peaches, pears, even blackberries or raspberries! Maybe even stir in some whipped cream too?? Oh, yes!

No matter what fruit you choose to use, I think you will definitely be happy with it. :)


INGREDIENTS

2 lb. Grapes (red and/or green)
8 oz. Cream cheese, softened
1 c. Plain Greek yogurt
1 tsp. vanilla
1/3 c. cane sugar
2 oranges, segmented and diced (Optional)
Pecans or walnuts (Optional)


DIRECTIONS
Whip your cream cheese until smooth.
Add the yogurt, vanilla, and sugar.
Beat until sugar is no longer grainy.
Fold in the grapes.
If you choose to use oranges, fold them in now.
Refrigerate until ready to serve. :)
Top with nuts just before serving.


***************************************************************

Whip your cream cheese until smooth.


Add the yogurt, vanilla, and sugar.
Beat until sugar is no longer grainy.
(If you want to add more sugar to sweeten it up, go ahead.)


Remove the stems from your grapes and make sure they are clean.


Fold in the grapes.


If you are adding oranges, chunk them up. I diced them into thirds.


Fold them in now.


Refrigerate until ready to serve. :)


 Top with nuts just before serving.


Friday, December 26, 2014

Old Fashioned Cranberry Bread


My husband made the following request, "Please make the Matt family cranberry bread for Christmas morning."  Now, when his Mom makes this bread, it's amazing.  I was getting a little paranoid, thinking that it wasn't going to turn out well and my poor husband would have inadequate cranberry bread to partake of on Christmas morning.  Having expressed those concerns to my man, his response, with his cute little smile, is simply, "I don't think it's hard to make at all!" Thanks honey!  Now I'm really paranoid. ;)
Well, my worries were in vain.  It was NOT that hard to make and it was still yummy.  However, I believe food is always better when you don't have to prepare it yourself so...Momma Matt may just have to make the next batch. ;)


-Recipe above-


1. Place butter on the stove on low temperature to melt while you get everything else around.   


2. Mix try ingredients. 


3. Butter and flour pans.  Set aside.


4. Cut cranberries in half or quarters, whichever you prefer.  Set aside. 


5. Heat water.  Do not boil.  Remove as soon as you see the little bubbles right before boiling. 


6. In a large bowl, pour melted butter.


7. Add sugar and vanilla. 


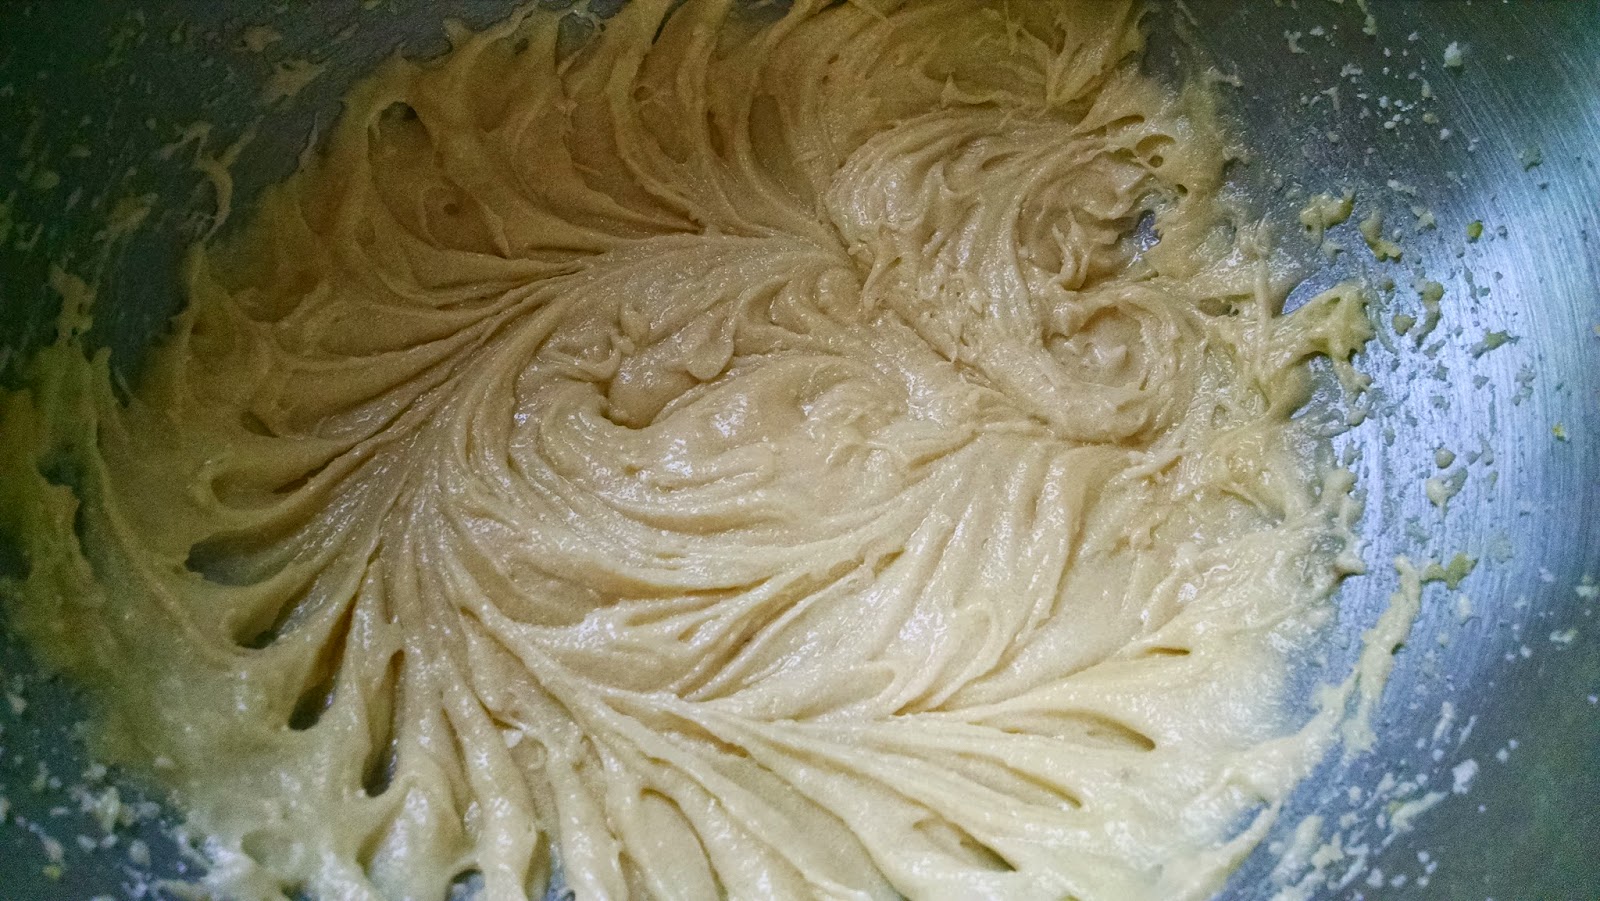
8. Mix well.


9. Add 1 egg at at time.  Mix well between each addition. 


 10. Above are the results. 


11. Add orange juice concentrate. 


12. Alternately add flour mixture and water. 


13. Do not over mix. 


14.  It will result in a runny batter. 


15. Fold in prepared cranberries. 


16.  Separate into the 2 prepared pans.  Bake at 325 degrees for 40-50 minutes or until toothpick comes out clean. 


17. Place on side to help make removing from the pan easier. 


18. When cool enough, remove and let cool completely on wire rack. 

Tuesday, December 23, 2014

DIY Tacky Christmas Sweater

    
We have been getting ready for Christmas here in Tennessee.  I have been having a hard time wrapping my head around the fact that it is that time of year.  I do love the South but when there isn't snow or a ton of family to see, it doesn't feel quite the same as when we we're up North. Days of getting together for family Christmas parties, cookie bakes, wrapping presents together, etc.
However, I was very excited when work said we were having a tacky Christmas sweater contest. Figuring it would help make me feel like Christmas was around the corner, I went and purchased a few things at Good Will and Walmart.  I also painted my nails to get into the festivities. Ta Da! Not only wanting to wear this awesome piece of art once, I wore it while we decorated the shed for Christmas.  Yes, we did.  Fireplace, karaoke, Christmas lights and tree are ready for our soon to be here family to come and celebrate with us.  Then...it will feel like Christmas. 
You can make one of these beauties for your festivities:

Good Will shirt
Walmart paints
beads
Pins 
Scraps of fabric
thread
needle

By the way, I didn't win the contest.  Thought I had a fighting chance but people really get into this.  I now know for next year. ;)

MERRY CHRISTMAS!


Saturday, December 13, 2014

Christmas Gift


With Christmas right around the corner, we're getting ready for our Christmas lunch/ Secret Santa reveal at work. For the past couple months we have been exchanging little gifts, candy, etc. You know the drill.  Well, I have a few things around for my person, but I wanted to make her something.  Before we began, we each filled out a sheet to give ideas of what we liked.  This saying was my person's favorite so I wanted to make a picture with it displayed. 
I would really liked to have had more time (because 2 months just isn't enough ;). I would have done it with paints like I did for the picture I made my Father in law. Being that I was a procrastinator, I decide to use a permanent marker instead.  It was much faster and it actually worked well.  
If you would like to make something like this, it was easy, cheap, and it will mean something to her. 

All you need is:

Picture frame (I found one at Good Will)
Burlap
Permanent marker
Scissors
Duct Tape (that's right!)

1. Find a picture frame you like.  Pick a phrase.
2.  Remove whatever is in picture frame and clean glass well. 
3.  Measure the burlap and cut.
4.  Write saying. 
5.  Replace burlap for the paper in frame. 
6.  Put backing on.  Because I didn't have staples, I neatly placed duct tape.  Grandpa was right, you can use duct tape for everything.  Don't judge. ;)

Sunday, December 7, 2014

Juicy Orange Slices

 We've been wanting to do this for awhile. We found this recipe in our cookbook. They were so good, my mom asked us to make them for a party we're having next week.
 
INGREDIENTS:
 
4 Oranges
1 lemon (lemon juice works too)
1 1/2 tbs. Sugar
 
TOOLS:
 
Bowl
1 tablespoon
A knife
plate


1.  Peel the oranges.


2. Then cut the oranges in slices and take out the seeds.


3. Put the lemon juice in the bowl.


4. Then drizzle it over the orange slices, or squirt a few drops of the fresh lemon juice over them.


 5. Then sprinkle sugar over them.
 
6. Refrigerate them for five minutes.


 Enjoy!!!


Friday, December 5, 2014

Quick and Easy Fiesta Chicken Bake

This morning as I was wondering what to make for lunch, I went to the cupboard and saw that we had some chicken, a little rice, and lots of tomato soups, pastes, and other tomato-ey cans of food. So I looked up what I could make and BAM! Fiesta Chicken Bake! :)
This recipe is so easy! It literally took me 5 minutes to throw together! What you'll need:

1 - 11x7 inch dish
1 can tomato condensed soup
3/4 c. rice
3/4 c. water
1 tsp. chili powder
A dash of salt
A dash of pepper
2-4 chicken breasts

First preheat the oven to 350 degrees. Next mix your tomato soup, rice, water, chili powder, salt and pepper in your baking dish.

After you have mixed the above ingredients together. Lay 2 to 4 thawed chicken breasts on top of the mixture. (I just made two chicken breasts for the two of us.) If you like, season with some more chili powder on top of the chicken to add flavor.

Put a lid on the dish and bake for 45 minutes or until the chicken is cooked thoroughly.
Enjoy!

Monday, December 1, 2014

Black Bean & Sweet Potato "Chili"

This time of year is the best for those hearty, warm meals. Not long ago we were outside enjoying the crisp fall air and the crunchy leaves on the ground. Now you can't even see the ground! The snow came hard and fast this year. Which makes it the perfect time for a meal like this one.

This recipe is great for a cold day! It's full of flavor and really fills you up. I made it meatless, but you could certainly add some in there if you'd like. :) It's hearty and healthy!


Ingredients

2-3 Tbsp. olive oil
3 sweet potatoes, peeled & cubed
1 onion, diced
1 bell pepper, diced
1 tsp. garlic paste
2-3 c. vegetable or chicken broth
1 (14.5 oz.) can diced tomatoes
2 (15 oz.) cans black beans, rinsed and drained
2 Tbsp. chili powder
2 tsp. ground cumin
1 tsp. oregano
1 tsp. paprika
1/4 tsp. cayenne pepper
1/4 tsp. white pepper (optional)
salt & pepper, to taste


Directions

Preheat oven to 400 degrees.
Toss diced sweet potatoes in a little olive oil to coat and spread on a large baking sheet.
Place in oven for 15-20 minutes or until potatoes are becoming tender and edges are starting to "roast".
While the sweet potatoes are in the oven, heat a large pan or dutch oven on the stovetop over med-high heat.
Add a little olive oil and toss in the onions, peppers, and garlic. Saute for 3-5 minutes or until veggies are becoming tender, but not mushy.
Add remaining ingredients (except the potatoes) and bring to a boil.
Once it reaches boil, turn heat down and simmer for 20-30 minutes.
Stir in sweet potatoes a few minutes before serving.
Serve with your favorite breadsticks or cornbread. :)


Monday, November 17, 2014

Oven Roasted Buddha Bowl

Until a few months ago, I had never heard of a buddha bowl. I wasn't even really sure why it was called that until I looked it up. Basically, what I found was a compilation of opinions on what a buddha bowl is. What it boils down to is that a buddha bowl is meant to cleanse your mind and body. It is generally whole grains (brown rice, quinoa, etc.) and fresh vegetables (cooked or raw). A yummy pile of good-for-you deliciousness.

Since there are so many variations, there are no wrong vegetables to use. This is a very basic recipe so go ahead and add any veggies or fresh herbs you get the hankering to toss in there. If you aren't sure about the garbanzo beans, please just try it! My husband and I both agree that they add so much to this dish. If you decide you don't like them, they are very easy to pick out. :)

We've made buddha bowls so many times since we found the first recipe. They also never taste the same for us! We have a tendency to mix it up and never really quite follow a recipe for cooking. Baking is another story, but when we cook, a recipe always tastes similar, but never the exact same. The recipe below is the base of what we generally make. The best part is that no matter how we make it, we both always enjoy it. It's a great go-to meal that is easy and you feel good about eating. Which is good, cuz I think that's the whole point. :)

*If you don't like the dressing, or don't have nutritional yeast, feel free to use your dressing of choice. However, I strongly suggest giving this dressing a shot. Just remember, a little goes a long way. :)


Ingredients

1 small head cauliflower
1 small head broccoli
1 can (15 oz.) chickpeas or garbanzo beans
olive oil
salt & pepper
brown rice or quinoa, cooked

Dressing
2 Tbsp. olive oil
2 Tbsp. lime or lemon juice
1/2 tsp. garlic paste
1/4 c. nutritional yeast flakes
1/3-1/2 c. water
salt & pepper


Directions

Preheat oven to 450 degrees.
Clean and chop the broccoli and cauliflower into florets. 
Dab dry with paper towels, if needed.
Rinse and drain chickpeas.
Place on paper towels and pat dry.
Combine broccoli, cauliflower, and chickpeas in a large bowl.
Drizzle 1-2 tablespoons of olive oil over the top. 
Gently stir, adding a little more oil if needed to coat it all evenly.
Add salt and pepper and gently stir again.
Spread on a large cookie sheet lined with parchment paper.
(If you have more veggies than me, it will be pretty full. You may need to use 2 sheet pans.)
Place in oven and bake for 15 minutes without touching them.
Gently shake pan to move the chickpeas around and return to the oven.
Bake another 15-20 minutes or until veggies are tender and edges are crispy.
While the veggies are roasting, go ahead and make your dressing.
Add all the dressing ingredients in a blender and blend until smooth.
Set the dressing aside. (It will be pretty runny.)
When veggies and chickpeas are done, remove from the oven.
Scoop onto a bed of quinoa or brown rice and toss.
Serve immediately with dressing drizzled over the top.

************************************************************************

(Directions with Photos)

Preheat oven to 450 degrees.
Clean and chop the broccoli and cauliflower into florets. 
Dab dry with paper towels, if needed.


Rinse and drain chickpeas.
Place on paper towels.


Gently pat dry.


Combine broccoli, cauliflower, and chickpeas in a large bowl.


Drizzle 1-2 tablespoons of olive oil over the top. 


Gently stir, adding a little more oil if needed to coat it all evenly.


Add salt and pepper and gently stir again.


Spread on a large cookie sheet lined with parchment paper.
(If you have more veggies than me, it will be pretty full. You may need to use 2 sheet pans.)
Place in oven and bake for 15 minutes without touching them.


Gently shake pan to move the chickpeas around and return to the oven.
Bake another 15-20 minutes or until veggies are tender and edges are crispy.


While the veggies are roasting, go ahead and make your dressing.
Add all the dressing ingredients in a blender and blend until smooth.
Set the dressing aside. (It will be pretty runny.)


When veggies and chickpeas are done, remove from the oven.


Scoop onto a bed of quinoa or brown rice and toss.
Serve immediately with dressing drizzled over the top.


Check these out!