Search This Blog

Showing posts with label Halloween. Show all posts

Thursday, October 8, 2015

Oreo "Mud" Bars

 So I was looking for some ideas for snacks for a Halloween Party.  I found this and thought it'd be a fun thing to make, considering I'm planning on having a small get together at the end of this month!!
It's October Everybody!!! :)
  
  
INGREDIENTS
1 package of Oreos
1 bag of Marshmallows
4 Tbsp. Butter


~~~~~~~~~~~~~~~~~~~~~~~~~~~
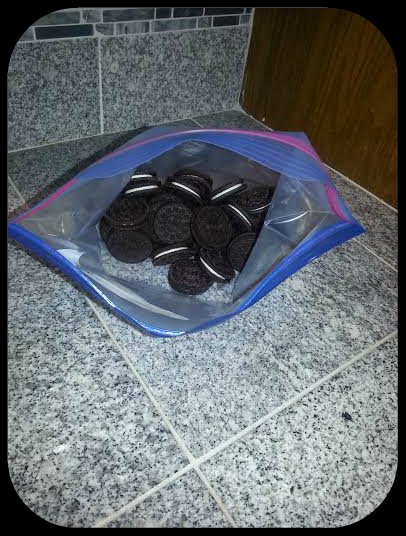

  
STEP 1: Get a Ziploc and put all the cookies inside.
  
  
STEP 2: Crush into crumbs.

  
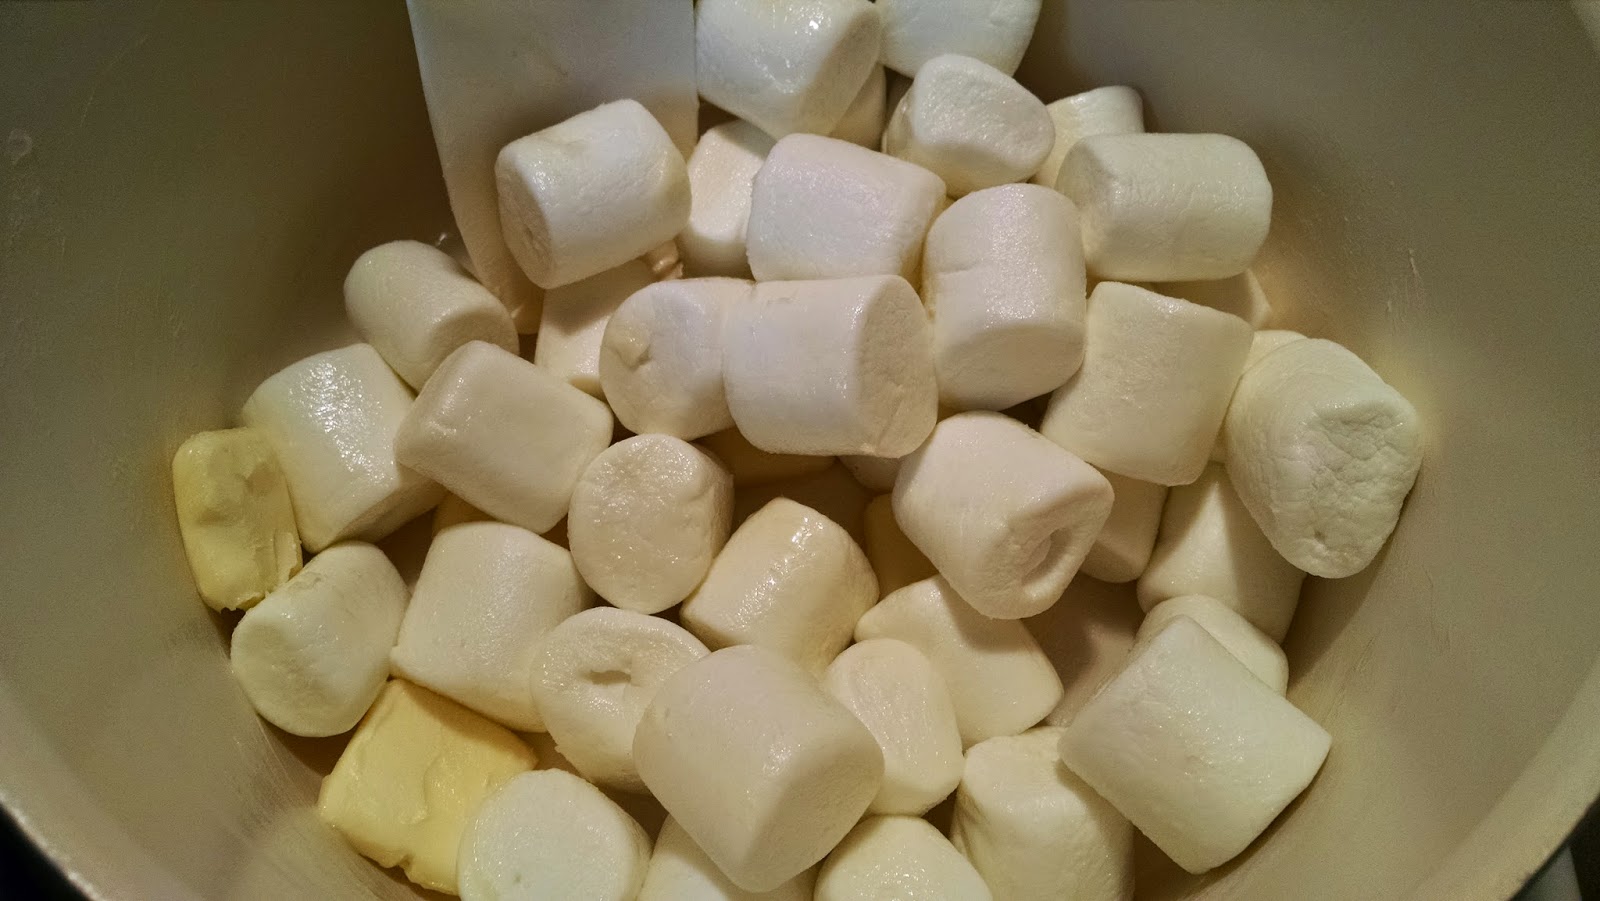
STEP 3: Put marshmallows and butter into a pan.
 Put on low. Stir constantly.


 STEP 4: Stir until melted and mix with all the Oreo crumbs.
STEP 5: Butter a pie pan, then pat the mix in.

Cool for 15-20 minutes before serving!!!


Hope you Enjoy!!!


Friday, October 31, 2014

"Pumpkin" Rice Krispie Treats


End of October- time to get dressed up, go to parties, and... eat lots of junk.  

I now have a desk job.  This girl is used to running around at my previous jobs.  Not here!  Eight hours of sitting (thank goodness it goes fast).  I am loving my job; however, there is a downfall.  With holidays approaching, it is normal to prepare for celebrations.  At my work place, it feels like we are always celebrating something and with celebrating comes food.  It's crazy. I just told myself I have to start watching it, especially since I know this booty will get ever wider as I munch on milk duds at my desk.  After I decided I was going to do better...again :P...my supervisor comes in and tells everyone we will be having a party for Halloween.  Everyone bring a treat! (FOREHEAD SLAP!!)  Maybe I'll start in November. ;)

So with the party tomorrow and not really planning, I needed something quick but cute.  These little rice krispie pumpkins are what I ended up making:

All you need:

6 cups rice krispies
1/4 stick butter
1 tsp vanilla
yellow and red food coloring
mini tootsie rolls
butter for your hands---
(everyone knows you need this if you have ever made rice krispie treats! ;)


Start melting butter on low. 


Add marshmallows. 


As the marshmallows are starting to soften, open tootsie rolls. 


Also, measure out rice krispies. 


Stir the butter and marshmallows as they melt. 


 Stir.


Stir some more. 


After the butter and marshmallows have melted, add vanilla. 


Stir in food coloring. Mix well.  Pour mixture over rice krispies and stir again.

Now, at this point, I was unsuccessful at taking any pictures, as my hand were covered with marshmallow.  Quickly form "pumpkins" and stick a "stem" in the top.  There you go!


Wednesday, October 30, 2013

"Handy" Treat Bags

Tomorrow is Halloween, and you're probably getting ready to have an overload of trick-or-treaters and candy munchers coming to your door. If you're the type of person that likes putting the candy in baggies, or if your kids have a party to attend, this is a great way to ditch the normal sandwich bag. I saw this idea on Pinterest and loved it!


You can find latex-free gloves at Walmart, Walgreens, etc. (the clearer the better).
When buying candy, be sure to get a big bag of Smarties candy, as you will need 5 rolls for each glove.
As far as the other candy, get whatever suits your fancy! :)


Monday, October 21, 2013

Halloween Treats!

Seeing Tricia's post for Mummy Suckers (click here for that!) reminded me of our little Halloween party last year at my parent's house. After going out trick or treating, we brought the younger kids back home to a brownie decorating competition and a spread of "Halloween themed" treats. Of course, after everyone had their snacks, we all piled in the living room to watch Tim Burton's "The Nightmare before Christmas". I had taken a picture of our treats last year for fun, but realized it came in handy for a post today. And just in time for you to plan the treats you'll be serving on that candy-filled night! :)


1. "Pumpkin Poop" 
Fill sandwich bags with cheese puffs. Decorate some cardstock paper and write a little poem. "I started to carve a pumpkin with my carving knife and scoop, but the pumpkin got so scared that he took a little poop!" Fold the paper over the sealed bag and staple in place.

2. "10 Finger Punch"
Fill two (2) clean, latex-free gloves with water or cranberry juice. Twist closed and tie tightly with a twist tie or rubberband. Place flat in the freezer and let rest until fully frozen. After preparing your punch, 
remove the "hands" and carefully peel or cut the glove off. Place in your punch bowl. :)

3. "Pumpkin Soda"
This one is very easy, but is super cute. Just get a 2-liter bottle of your favorite orange soda, peel off the label, and draw a jack-o-lantern face with a black Sharpie marker!

4.  "Candy Corn Parfaits"
To help make this night a little bit healthier, we made some parfaits layered with pineapple on the bottom, then peaches, and topped with whipped cream. (You could switch it up and use bananas or lemon pudding, and mandarin oranges, too. Whatever you like!)

5.  "Haunted House Brownie Competition"
This was one that the kids really had fun with. We made brownies using a haunted house mold and let them cool completely while we went out. When we got home from trick or treating, the kids were able to use all sorts of frosting, candies, and sprinkles to create their masterpieces. We did boys vs. girls and they had fun with it! The girls really tried to make theirs look nice, but the boys thought the more frosting and candy they could load on top, the better! :)


Happy Halloween! :)


Friday, October 18, 2013

Mummy "Suckers"

Inspired by Halloween decor everywhere, I decided to browse the interwebs for some cute Halloween treats!  I thought this one was so great---and easy.
All moms out there, your kids will love these. 
While making these though, I have a couple tips---buy wax paper and get double stuffed oreos.  :)  I will explain in a bit. 

Things needs:
DOUBLE STUFFED oreos
White Almond Bark
Any chocolate candy you want--for the eyes
Lollipop sticks
WAX PAPER

Directions below with pictures!


Gather your ingredients! 

Don't laugh at my double boiler. :) If you don't have one, you make do.  Grab a pan, put water in, top with a bowl.  Works great! 


Using your double boiler, melt almond bark.


 While the almond bark is melting, carefully separate the oreos.  This is where it would be nice to have double stuffed oreos.  When putting the lollipop stick between, because there wasn't much filling, the oreo didn't want to stay together.  I used the melted almond bark as "glue".  It worked but it would make this project easier if there was more filling. 


 Carefully dip the oreos in the melted almond bark. 


 Make sure they are covered well. 


 Using a piping bag, I drizzled the almond bark over the already covered "suckers".


 Place candies to look like eyes.  Allow to cool.  This is where the wax paper would come in handy. It was very difficult to get these off the cooling rack.  I was successful but the wax paper would make it very easy.


ENJOY!  Happy (almost) Halloween!

Check these out!