Summer is here, and we are having an abundance of beans! So, I thought I would blog canning our green beans!
In the beginning of our marriage I was the one who did the canning, and now my hubby and I do it together. I enjoy the time we spend together each season. He is the one that gives me the inspiration to continue doing it! So, I just wanted to take a moment to give him credit here.....I know if it wasn't for him I probably wouldn't pressure can like we do.
On to the Project....
I realize I may not do this the 'correct' way, but this is how we do it!
First, of course, you pick the beans.......that is the fun part!
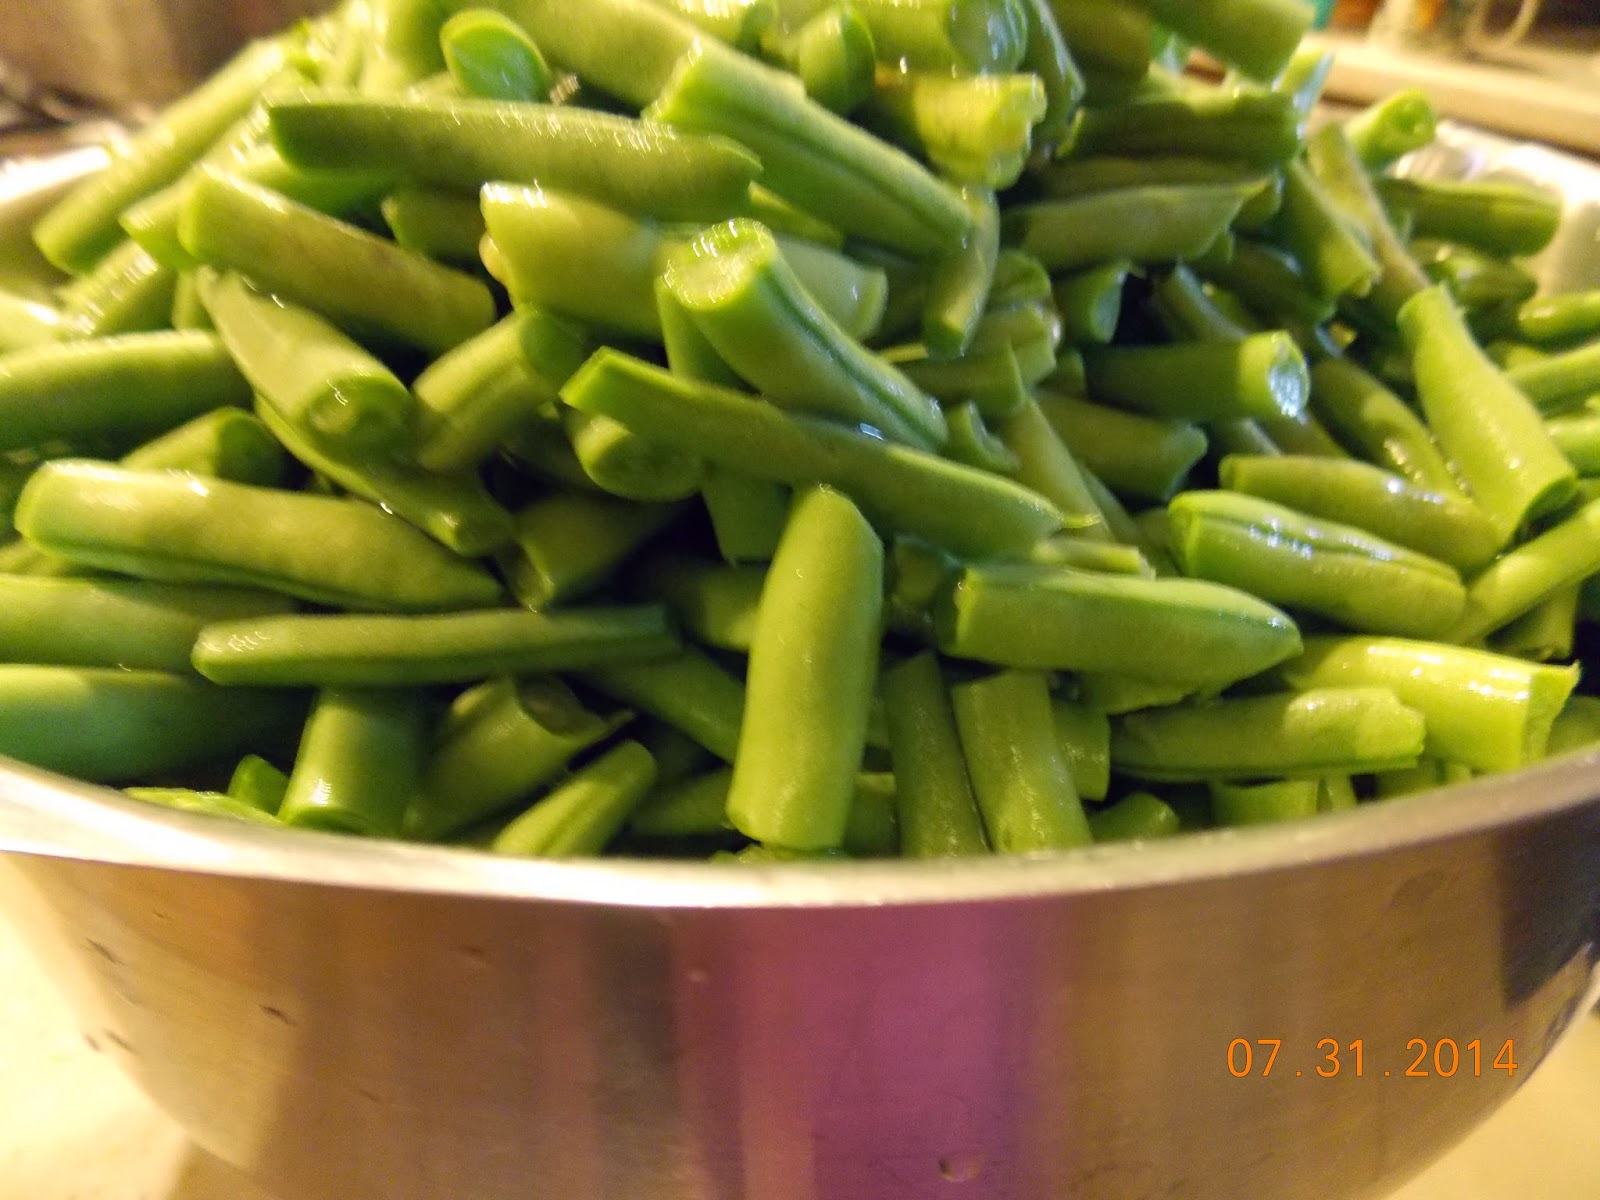
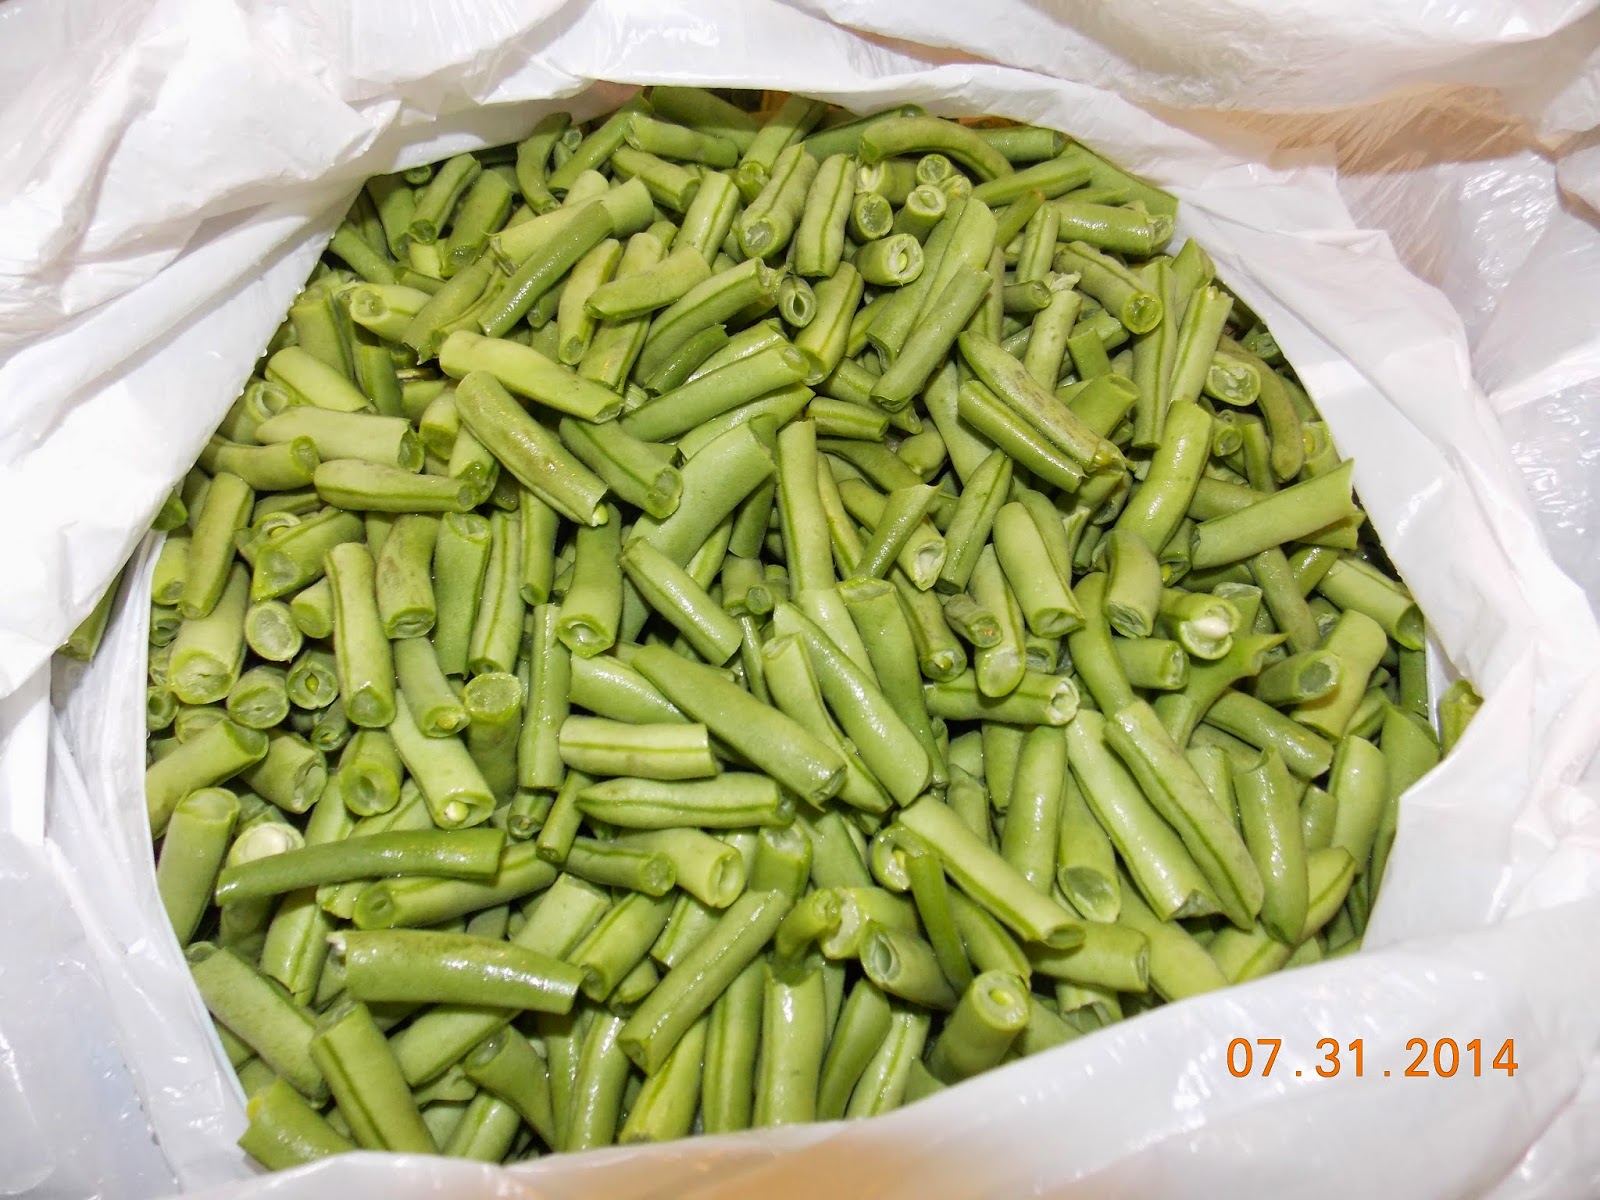
2. Crack the beans. We take both ends off, and then break them in usually 3 pieces. You can do it anyway you want.
3. Wash the beans.

4. Then you get all the supplies around that you need. We use basic items such as a plate, towel, fork, funnel, salt, and of course you will need the lids and rings to your jars that you will be using. I also use a glass 4 c. measuring cup, which is not pictured.
We are canning in quart jars, but you can use pint jars if you would like. Make sure all of the jars are free of any chips.
5. To sterilize them we put them in the dishwasher on Saniwash.
6. Pour 2 qts. of water in your pressure cooker. (This is a very important step)
7. In the meantime I put a large pot of water on the stove to boil. You will use this hot water to pour over your beans before placing your jars into the pressure cooker.
8. Place your lids in a small saucepan filled with water and simmer on low the entire time you are canning.
9. Using your funnel place the beans in your jar leaving 1/2 inch headspace. You don't want to over pack your beans....Just loosely fill the jars.
10. Add 1 teaspoon salt to each jar.
11. Pour the boiling water over your beans.
12. Using your fork lift the lid out of the simmering water.
13. Wipe the rim of the jar with your finger, place the ring on the jar and tighten snuggly.
14. Place your jars in the pressure cooker, which has been put on your stove already. You aren't going to want to move it after you place all your jars in it.
15. Fill your canner with jars. I believe most large pressure canner fits 7 quarts.
16. Place your lid on the pressure cooker and put the pressure valve on to 10 pounds.
17. I have a gas stove, so it is easy to regulate. I start off on high, and wait until it starts to "rock" and make noise. As soon as I hear it, I start timing it for 35 minutes. I then start to turn it down slowly, letting it rock until it is down to low (and continuously rocking) and wait for the duration. Be sure it continues rocking for the full time!
18. After your pressure cooker releases pressure (usually a good half hour) you can gently take each jar out and place on a towel. Then you can hear the "sweet sound of success" as my mom called it as the lids start to 'pop' as they seal.
*********************************************************
I absolutely LOVE canning beans...it is truly simple and I think it is so rewarding! Our children help us plant the seeds for the garden, and they help us weed it. They also help us pick the beans, help us through the entire process of preserving them, whether we freeze or can them. In the middle of the winter when we are enjoying our harvest.... I just love it when they recall our time spent together in the garden! I thank God for the times like these and I am able to realize that a simple life is something I appreciate so much! I believe that something as simple as canning green beans can give a child (or adult) a sense of what is truly important in life!


