Search This Blog

Showing posts with label Food Preservation. Show all posts

Monday, October 19, 2015

Grape Jam

Grapes are ready, and who doesn't like homemade grape jam? 
The grapes were so beautiful this year!
We followed (mostly) the directions from the Sure Jell box.  I will admit we doubled our batch, which this is something they recommend not to do.  Our jelly turned out wonderfully, so we will do the next batch the same way.  ☺

Supplies Needed:
Dry measuring cup
liquid measuring cup
saucepan
ladle
bowls
jars
lids and rings
fork 
metal spoon.
canner (and canning rack if you have one)
towel

Ingredients:
Grapes - about 4 lb. (enough to make 10 cups juice)
(see below for instructions)
1 tsp. butter
Sugar - 14 cups
2 boxes Sure Jell
Okay, let's get started!

************************************************
1. Pick your grapes.  
(As you can see....we had one excited girl to help pick the grapes!)
Look what we picked! 


2. Sterilize your jars.  (I use a dishwasher.)

 
         3. Put lids in saucepan. Cover with water.


4. Prepare canner by adding some water.  Set aside.


5. Wash the grapes.


6.  Remove and discard stems. 
(My son helped me do this.)

7. Place them in a large pot and add enough water just to cover the grapes.
Stir.
8. Bring to  boil; simmer on medium-low heat for 10 minutes.
9. Carefully pour grapes through juicer.
As you can see...we used a pan to help catch the juice. 
10. Measure out 10 cups juice.
(You may add a bit of water, if needed, to make the correct amount.)


11. Measure out exact amount of sugar and set aside.  (In our case, it was 14 cups.)

12. Stir 2 packages of Sure Jell into the prepared fruit juice.  

13. Add 1 tsp. butter to reduce foaming.


14. Bring mixture to full rolling boil (a boil that doesn't stop bubbling when stirred) on high heat, stirring constantly. 

15. Add sugar to fruit mixture.  

16. Return to full rolling boil; boil exactly 1 minute, stirring constantly. 
17. Remove from heat.  Skim off any foam with metal spoon.

18. Pour juice into hot, clean jars. Fill each, leaving 1/4 inch space from the top.

19. Wipe jar rims and threads. Cover with lid, put rim on, and tighten. 


20. Place jars in hot water canner. (Make sure water is covering jars!) Add boiling water if needed.

21. Process for 10 minutes, according to your canner's instructions.


22. Remove jars and place upright on towel to cool completely.

That's it!

By the way, these would make nice gifts! :)


Monday, August 10, 2015

Crock Pot Salsa

My husband and I are huge fans of chips and dip.  Our first choice is always salsa with tortilla chips.  We generally like our salsa with a little heat, but as long as the flavor is there, we'll eat it!

My parents make homemade salsa every year and I love the way that you can control the levels of heat and spices when you make it yourself.  They can theirs in mason jars, but when I decided to make a batch, I didn't have any mason jars available.  Deciding to make it anyway, I chose to try a batch in the crock pot, then freeze it in ziplocs.  It worked so well!  We just pull a package out to thaw when we want some chips & salsa.  We've also used it to bump up the flavor in some pasta dishes and to top off some yummy tacos.


Ingredients

4 lb. tomatoes, quartered & core removed
5 tsp. garlic paste
2 onions, quarters
6 fresh jalapenos, ends cut off, halved & seeds removed
4 green onions
1 tsp. salt
1/2 c. fresh cilantro, chopped
2 Tbsp. canned jalapenos, chopped
garlic powder, to taste
chili powder, to taste 

Directions

Combine tomatoes, garlic paste, onions, and fresh jalapenos in a crockpot.
Cook on high for 2 1/2-3 hours, stirring as necessary.
Remove lid and allow to cool for at least 1 hour.
Add the green onions and the salt.
Carefully scoop some into the blender and blend to desired consistency.
Pour into a large bowl.
Continue with remaining mixture until it is all blended.
Cover and refrigerate until completely cool.
Stir in cilantro, canned jalapenos, and sprinkle in some garlic powder and chili powder.
Stir in up and taste.
Add more seasonings or salt, if needed, to reach desired flavor/heat level.
Store in an airtight container in the fridge for up to a week, or divide portions into freezer bags to freeze.


When quartering the tomatoes, I just cut the hard core out and left the seeds in.  If you're opposed to "seedy salsa", just scoop the "guts" out, too. :)


Be sure to wear gloves and not touch your face when cutting the jalapenos.
Use your judgement when deciding on the peppers.  Use more for extra heat, less for a more mild salsa.  You could even experiment with different types of hot peppers to find your favorite!


Combine tomatoes, garlic paste, onions, and fresh jalapenos in a crockpot.
Cook on high for 2 1/2-3 hours, stirring as necessary.


The pot gets pretty full, but don't worry about it.  It cooks down a lot!


Remove lid and allow to cool for at least 1 hour.


Add the green onions and the salt.
I left the onion stems whole since they will just get chopped in the blender.  Less work is better! :)


Carefully scoop some into the blender and blend to desired consistency.
Pour into a large bowl.
Continue with remaining mixture until it is all blended.
Cover and refrigerate until completely cool.


Stir in cilantro, canned jalapenos, and sprinkle in some garlic powder and chili powder.
Stir in up and taste.
Add more seasonings or salt, if needed, to reach desired flavor/heat level.


Store in an airtight container in the fridge for up to a week, or divide portions into freezer bags to freeze.


Or just take a bowl outside to enjoy while appreciating the view.  :)


Wednesday, February 18, 2015

Spiced Slowcooker Applesauce


"Mom, can I please have a snack?"
Please assure me that I am not the only one that hears that approximately 42 times a day?  With six kids, I am constantly being asked for a snack.....Aw, the joys of motherhood!  :)
So this post is a tribute to one of our (EASY) homemade snacks. 
 
ALL YOU NEED:
5 pounds of peeled, cored, and sliced apples
1/2 cup dark brown sugar
1/2 cup real maple syrup (yum!)
2 tsp. cinnamon
1/2 tsp. cloves
1/4 tsp. nutmeg
A Slowcooker
A Blender


Start by peeling, coring, and slicing your apples. If you have one of those handy apple peeler/corer/slicer contraptions. ..please use it. It will be your best friend.  My ten year old used mine and did all my apples for me. :) After they are all peeled and sliced put them in your slowcooker. You want there to be 5 pounds after they are all sliced and ready. If you don't have a scale, it ends up being a very full 5 quart slowcooker. 

Note: You can use whatever apples you have on hand. But keep in mind that different apples will result in different flavors. Pictured here I used Hidden Rose apples, hence their beautiful, pinkish-red color.


Yep. That full.


Now measure out your spices.....2 teaspoons cinnamon, 1/2 teaspoons ground cloves, and 1/4 teaspoons nutmeg.


Measure out 1/2 cup packed brown sugar and a 1/2 cup maple syrup.
You can easily adjust your sweetness level by decreasing or increasing your sweeteners.
I found this amount to be perfect! :)


Sprinkle your spices and brown sugar on your apples. Drizzle with your maple syrup. 
Turn your slowcooker on high for 4-6 hours or until the appled are fully cooked and soft. If you think of it,  you may give your apples a stir halfway through cooking time to distribute your spices and sugars. When they are all done unplug your slowcooker, remove the lid, and let cool for 15 minutes or so.


Now it is time to puree all your delicious smelling apples.
Now, let's be real. This is the real reason I decided to make apple sauce. It would give me, yet another, reason to use my new favorite toy....My Ninja blender!  :)
If you don't have a ninja...don't panic.  You can easily use a different blender, or an immersion blender if that's what you have. But seriously,  if you are debating over a Ninja purchase, you won't be sorry after you make the purchase!  :)


Blend until you reach your desired consistency. 


Now time to Enjoy! I prefer my applesauce cold but it is fantastic warm, too!

Thursday, July 31, 2014

Canning Green Beans


Summer is here, and we are having an abundance of beans! So, I thought I would blog canning our green beans! 

In the beginning of our marriage I was the one who did the canning, and now my hubby and I do it together.  I enjoy the time we spend together each season.  He is the one that gives me the inspiration to continue doing it! So, I just wanted to take a moment to give him credit here.....I know if it wasn't for him I probably wouldn't pressure can like we do. 


On to the Project....

I realize I may not do this the 'correct' way, but this is how we do it!
First, of course, you pick the beans.......that is the fun part!


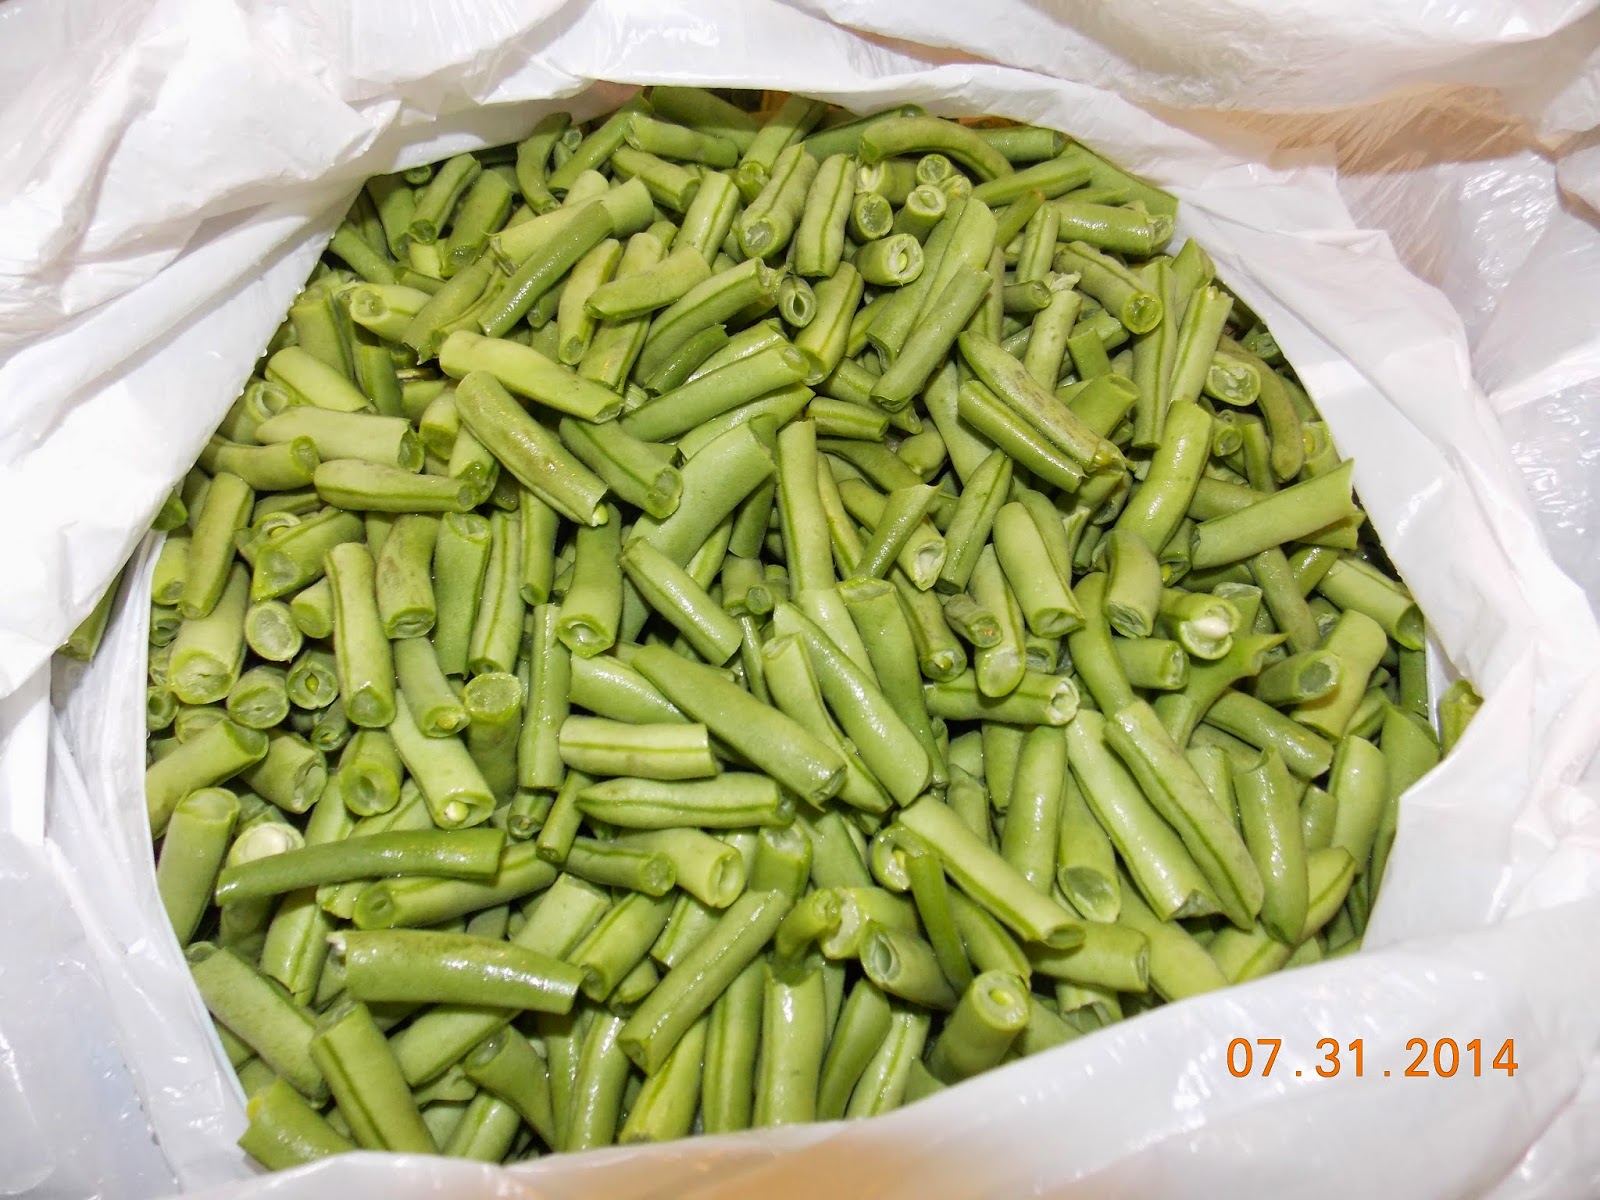
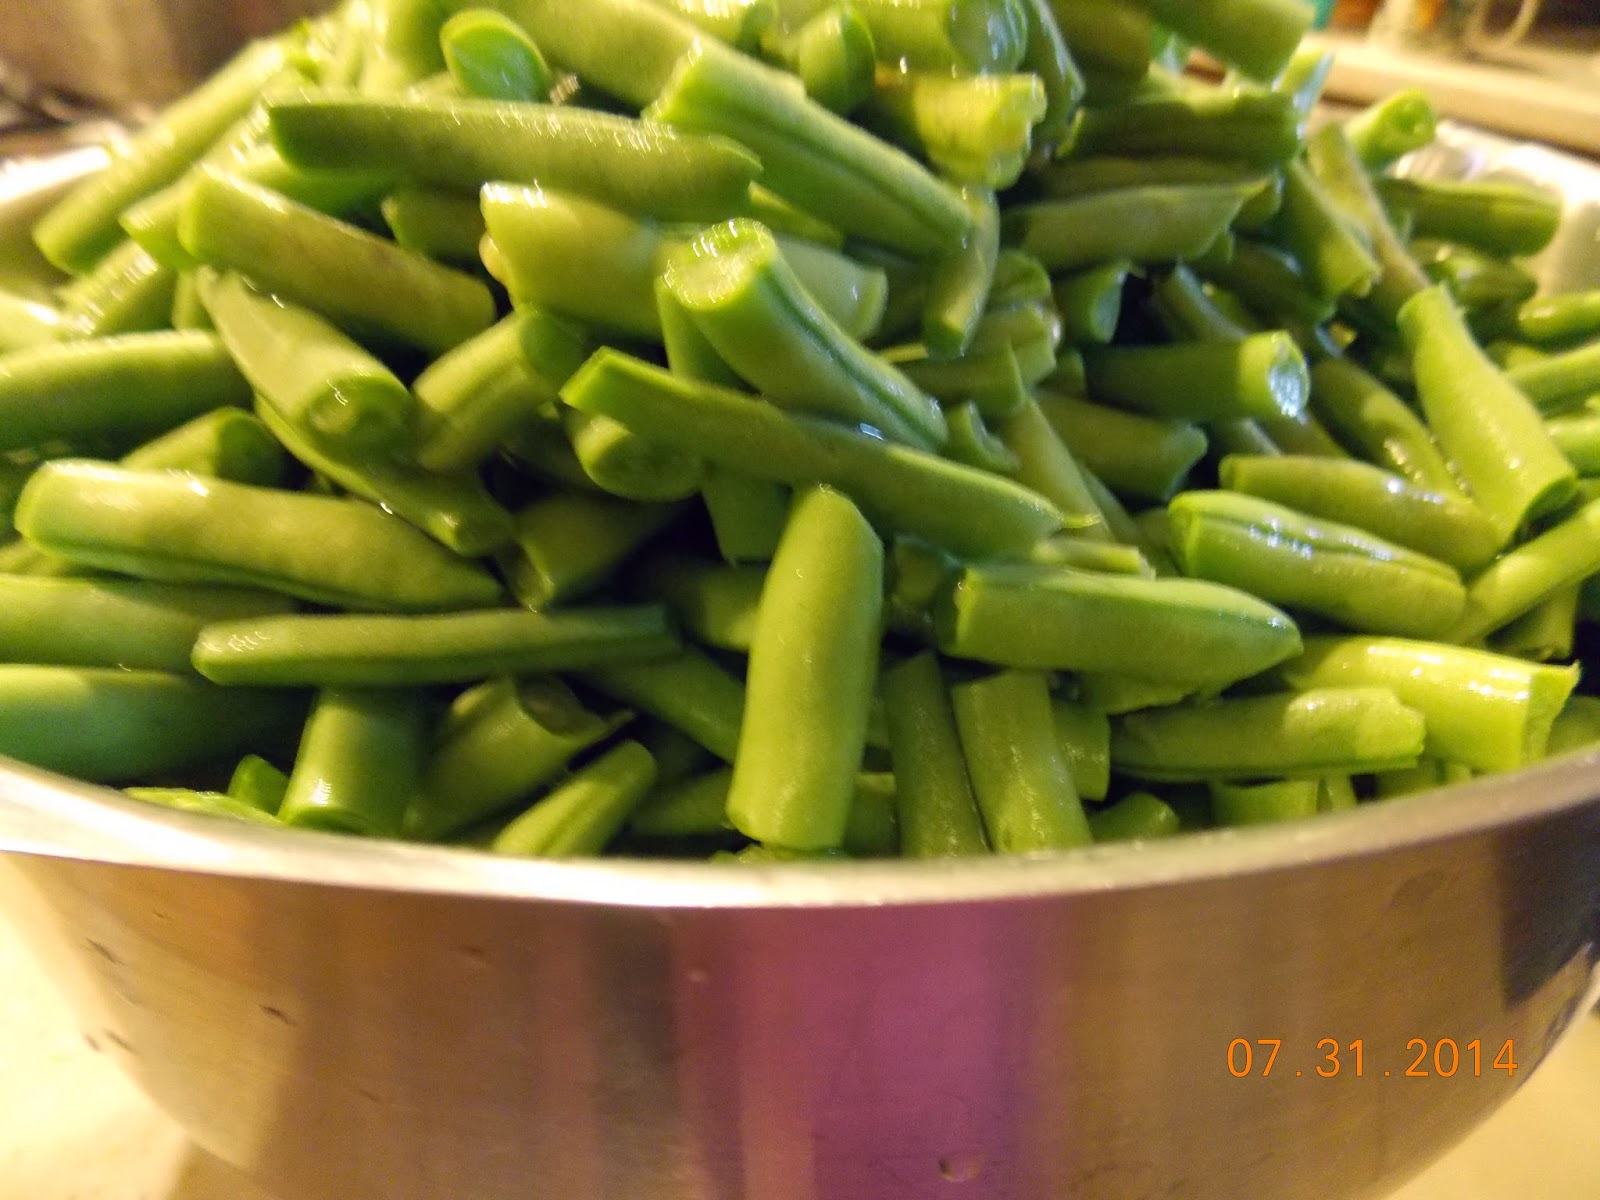
 2. Crack the beans.  We take both ends off, and then break them in usually 3 pieces.  You can do it anyway you want.


3. Wash the beans.


4. Then you get all the supplies around that you need.  We use basic items such as a plate, towel, fork, funnel, salt, and of course you will need the lids and rings to your jars that you will be using.  I also use a glass 4 c. measuring cup, which is not pictured.


We are canning in quart jars, but you can use pint jars if you would like.  Make sure all of the jars are free of any chips. 

5. To sterilize them we put them in the dishwasher on Saniwash. 


6. Pour 2 qts. of water in your pressure cooker. (This is a very important step)


7. In the meantime I put a large pot of water on the stove to boil.  You will use this hot water to pour over your beans before placing your jars into the pressure cooker.


8.  Place your lids in a small saucepan filled with water and simmer on low the entire time you are canning.


9. Using your funnel place the beans in your jar leaving 1/2 inch headspace.  You don't want to over pack your beans....Just loosely fill the jars.


10. Add 1 teaspoon salt to each jar.


11. Pour the boiling water over your beans.


12. Using your fork lift the lid out of the simmering water.


13.  Wipe the rim of the jar with your finger, place the ring on the jar and tighten snuggly.


14.  Place your jars in the pressure cooker, which has been put on your stove already. You aren't going to want to move it after you place all your jars in it.


15. Fill your canner with jars.  I believe most large pressure canner fits 7 quarts.


16.  Place your lid on the pressure cooker and put the pressure valve on to 10 pounds. 


17.  I have a gas stove, so it is easy to regulate.  I start off on high, and wait until it starts to "rock" and make noise.  As soon as I hear it, I start timing it for 35 minutes.  I then start to turn it down slowly, letting it rock until it is down to low (and continuously rocking) and wait for the duration. Be sure it continues rocking for the full time!


18.  After your pressure cooker releases pressure (usually a good half hour) you can gently take each jar out and place on a towel.  Then you can hear the "sweet sound of success" as my mom called it as the lids start to 'pop' as they seal. 


*********************************************************


I absolutely LOVE canning beans...it is truly simple and I think it is so rewarding!  Our children help us plant the seeds for the garden, and they help us weed it.  They also help us pick the beans, help us through the entire process of preserving them, whether we freeze or can them.  In the middle of the winter when we are enjoying our harvest.... I just love it when they recall our time spent together in the garden!  I thank God for the times like  these and I am able to realize that a simple life is something I appreciate so much! I believe that something as simple as canning green beans can give a child (or adult) a sense of what is truly important in life! 


Check these out!