Search This Blog

Monday, August 11, 2014

Roasted Chickpeas


While visiting my sister in Tennessee this summer, we were talking about healthy snacks we could make. (Mostly so I wouldn't return home with five pounds more than I went down there with. That always seems to happen...) I had recently heard of roasting chickpeas for a crunchy snack, so we decided to give it a go. Not only are they good for you, but there are so many potential flavor combinations you could try!  We all really like buffalo flavors, so we decided to try this mixture first. Big hit! :)

Best part? It only takes a few ingredients!

1 (15 oz.) can of garbanzo beans, rinsed and drained
buffalo hot sauce
garlic paste 
ranch seasoning (optional)

THAT'S IT!

This recipe is so easy, you don't even have to measure.  Throw a little of this, sprinkle a little of that and then wait.  
Let us know if you think of some yummy flavor combinations to try!

*****************************************************************

First off, you're going to want to rinse and drain your garbanzo beans. 


Transfer the beans to a mixing bowl.


Douse the beans in hot sauce and squeeze a little garlic in there.

(We used a combination of Louisiana Hot Sauce and Frank's buffalo sauce because that is what we had on hand, but your favorite hot sauce would work, too! You can also use fresh pressed garlic if you don't have the paste.)


Gently stir to mix.

Add a little more hot sauce if you feel like it needs more!


Sprinkle on the ranch seasoning.


Gently stir again.

Cover with plastic wrap and let it marinate for 1 hour, stirring occasionally.


After it's done "marinating", drain the beans off.
(If there is too much excess liquid, they get mushy rather than crunchy.)


Transfer to a baking sheet that is lined with parchment paper.


Don't they look yummy already?!


Spread them out evenly.


Bake at 300 degrees for about an hour, or until they reach the degree of crunchiness that you like.  


Check them periodically and stir them up.


We made a few batches and tried it at different temperatures for different amounts of time.
The "crunch level" definitely depends on how long you leave them in there. 

To test them, pull a couple out and let them cool for a minute before eating. You'll get an idea on how crunchy they are.

If you leave them in long enough, they almost get like "corn nut" crunchy, but you also have to be careful not to burn them to get them to that point. :)


Have fun with it! They taste good either way! :)


Friday, August 8, 2014

How to: Pack Your Shoes


In a past post, I told you about my husband and I taking a last minute trip.  That was when our 'spontaneous getaway bag' started.  Since then, we randomly decide we are taking off and heading to a hotel near Nashville.  In fact, we just did that very thing a couple weekends ago.  We really enjoy doing this.  Because this has become a regular excursion, we have come across many little items to throw in said bag.
  
On this last trip, I was thrilled to see a shower cap.  I'm a little strange but, hey, it wasn't just q-tips and lotion.  I get excited about the small things.  

I was checking out Pinterest yesterday and came across this great idea.  It wasn't actually what I had in mind when my face lit up seeing the cute shower cap box, but a great idea, nonetheless.  

This idea is going to be so handy when I'm packing for our 'mini vacations'.  Also, I will be traveling for my sister's wedding soon.  Who knows how many pair of shoes a girl will need for a week like that!   


Thursday, August 7, 2014

Berry Lemon Iced Tea

Summer means beautiful weather, the beach, vacations, outdoor bbq's, and....iced tea

Don't get me wrong, I enjoy a tall glass of plain iced tea, sweetened or not, but I was in the mood to try something a little different. This is what I came up with. :) 

Try it.... if it isn't quite what you are looking for, it is so easy to change it up...
Less (or more) honey, 
more (or less) lemonade, 
more (or less) tea bags...you get the idea! 


**********************************************************************

    In a slow cooker, combine the following:

    7 cups water
    3 cups natural lemonade
    1/4 cup honey
    2 cups frozen mixed berries
    9-10 tea bags

  After combining all ingredients in the slow cooker, heat on LOW for 3 hours. 
  Serve in a tall glass with lots of ice. 
Garnish with lemon slices :)
 Mmmm... refreshing!


Thursday, July 31, 2014

Canning Green Beans


Summer is here, and we are having an abundance of beans! So, I thought I would blog canning our green beans! 

In the beginning of our marriage I was the one who did the canning, and now my hubby and I do it together.  I enjoy the time we spend together each season.  He is the one that gives me the inspiration to continue doing it! So, I just wanted to take a moment to give him credit here.....I know if it wasn't for him I probably wouldn't pressure can like we do. 


On to the Project....

I realize I may not do this the 'correct' way, but this is how we do it!
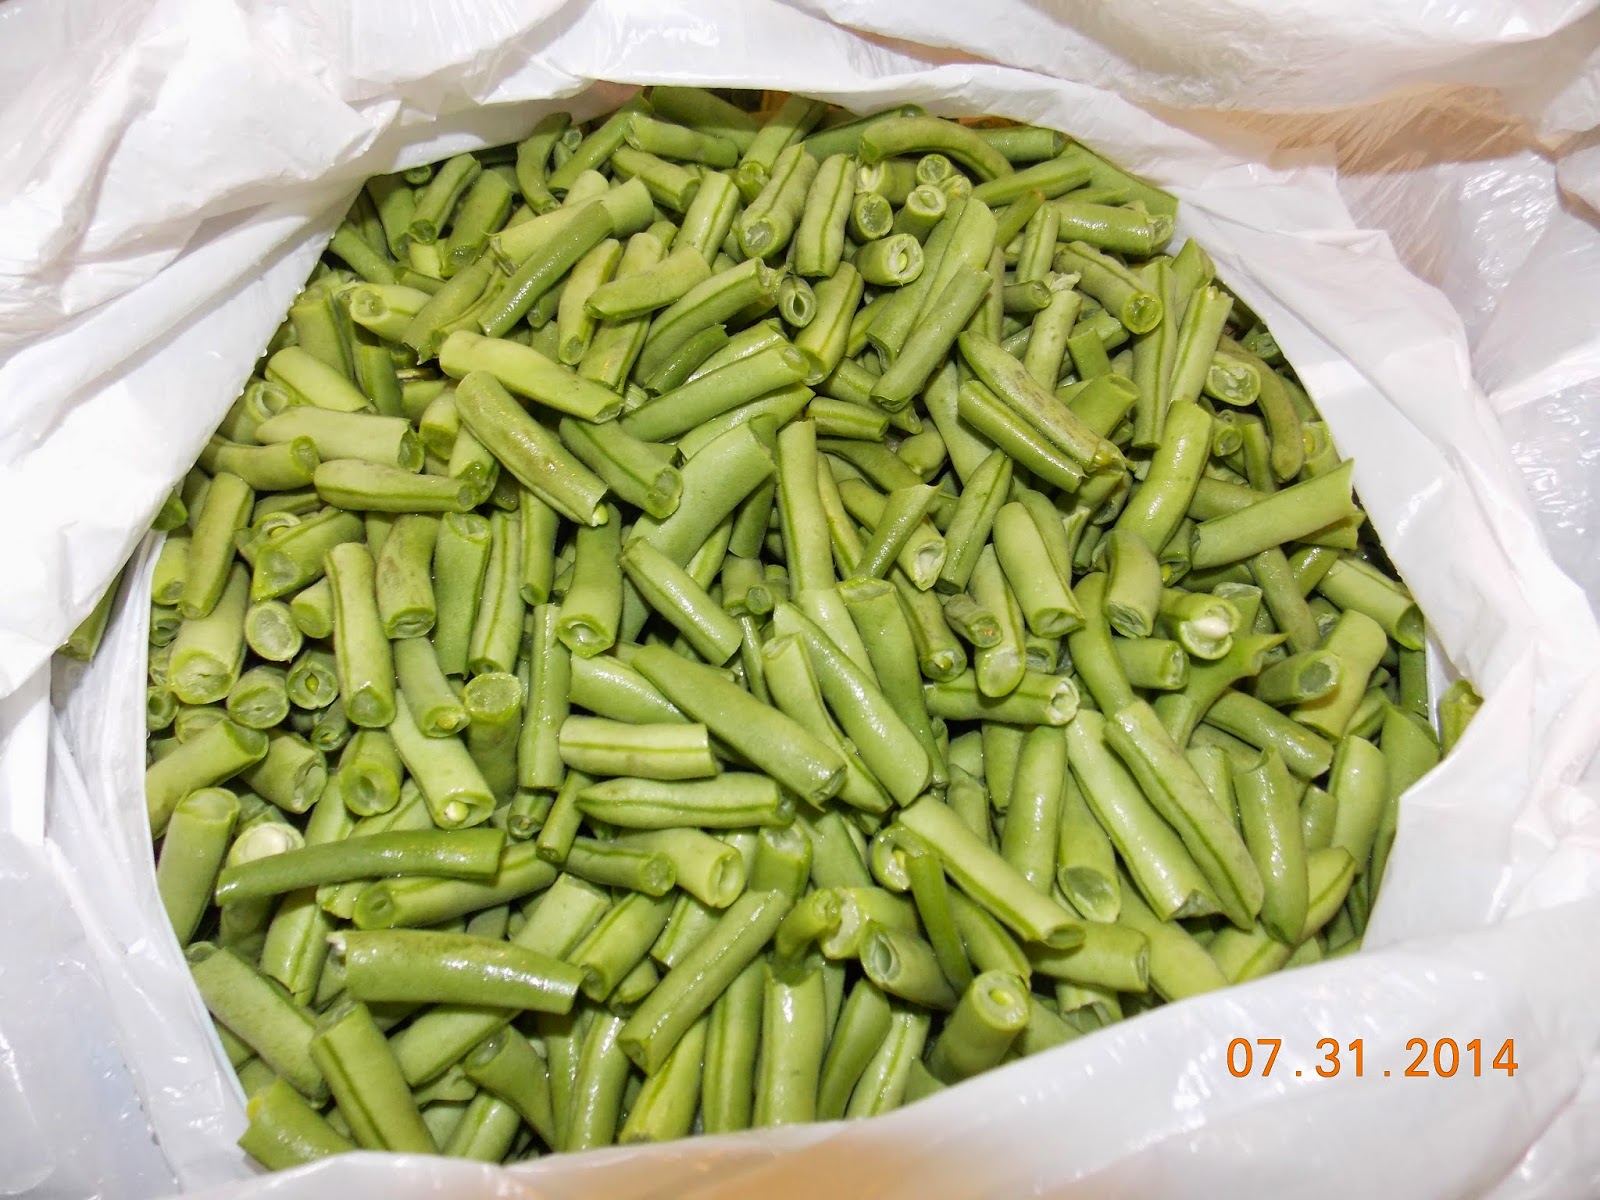
First, of course, you pick the beans.......that is the fun part!


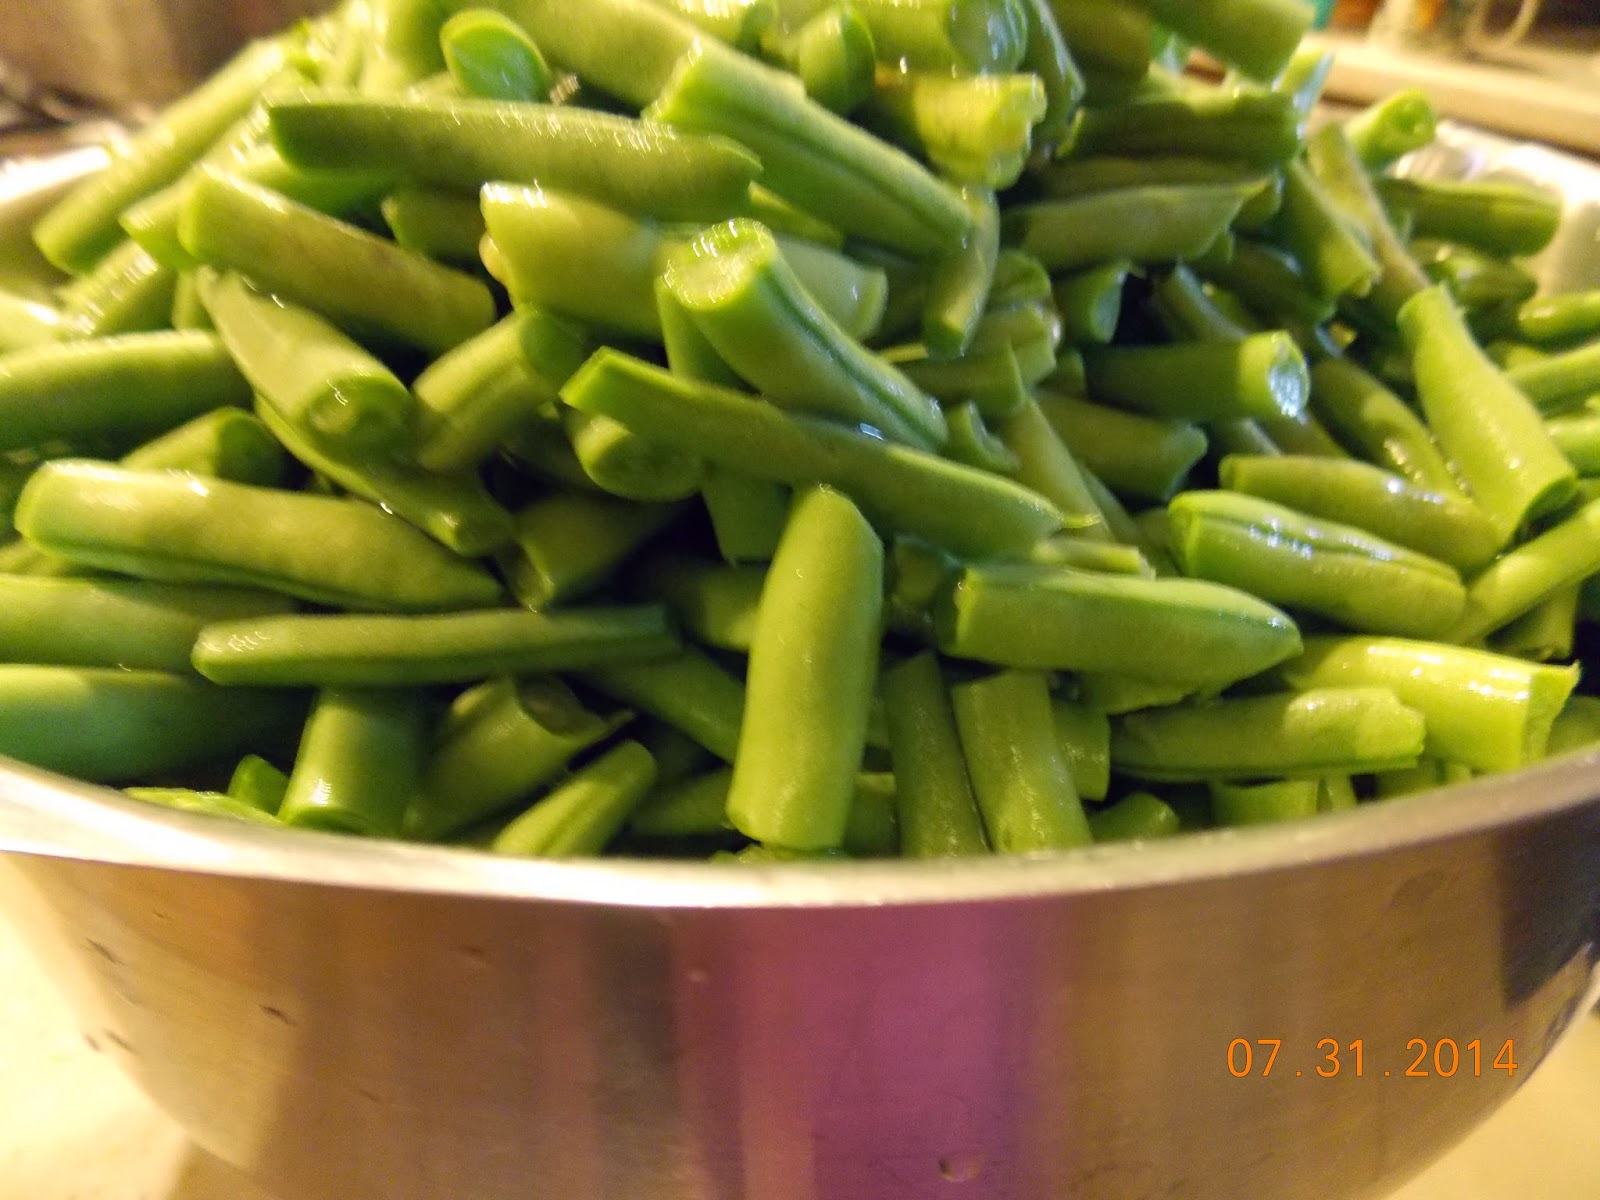
 2. Crack the beans.  We take both ends off, and then break them in usually 3 pieces.  You can do it anyway you want.


3. Wash the beans.


4. Then you get all the supplies around that you need.  We use basic items such as a plate, towel, fork, funnel, salt, and of course you will need the lids and rings to your jars that you will be using.  I also use a glass 4 c. measuring cup, which is not pictured.


We are canning in quart jars, but you can use pint jars if you would like.  Make sure all of the jars are free of any chips. 

5. To sterilize them we put them in the dishwasher on Saniwash. 


6. Pour 2 qts. of water in your pressure cooker. (This is a very important step)


7. In the meantime I put a large pot of water on the stove to boil.  You will use this hot water to pour over your beans before placing your jars into the pressure cooker.


8.  Place your lids in a small saucepan filled with water and simmer on low the entire time you are canning.


9. Using your funnel place the beans in your jar leaving 1/2 inch headspace.  You don't want to over pack your beans....Just loosely fill the jars.


10. Add 1 teaspoon salt to each jar.


11. Pour the boiling water over your beans.


12. Using your fork lift the lid out of the simmering water.


13.  Wipe the rim of the jar with your finger, place the ring on the jar and tighten snuggly.


14.  Place your jars in the pressure cooker, which has been put on your stove already. You aren't going to want to move it after you place all your jars in it.


15. Fill your canner with jars.  I believe most large pressure canner fits 7 quarts.


16.  Place your lid on the pressure cooker and put the pressure valve on to 10 pounds. 


17.  I have a gas stove, so it is easy to regulate.  I start off on high, and wait until it starts to "rock" and make noise.  As soon as I hear it, I start timing it for 35 minutes.  I then start to turn it down slowly, letting it rock until it is down to low (and continuously rocking) and wait for the duration. Be sure it continues rocking for the full time!


18.  After your pressure cooker releases pressure (usually a good half hour) you can gently take each jar out and place on a towel.  Then you can hear the "sweet sound of success" as my mom called it as the lids start to 'pop' as they seal. 


*********************************************************


I absolutely LOVE canning beans...it is truly simple and I think it is so rewarding!  Our children help us plant the seeds for the garden, and they help us weed it.  They also help us pick the beans, help us through the entire process of preserving them, whether we freeze or can them.  In the middle of the winter when we are enjoying our harvest.... I just love it when they recall our time spent together in the garden!  I thank God for the times like  these and I am able to realize that a simple life is something I appreciate so much! I believe that something as simple as canning green beans can give a child (or adult) a sense of what is truly important in life! 


Monday, July 28, 2014

Avocado & Chia Banana Bread

If you are looking for an awesome banana bread recipe without feeling guilty about eating the whole loaf by yourself (I'm not suggesting you do this, but I know it happens...to some people.), look no further! 

In this recipe, the wonderful avocado replaces the oil/butter, and chia seeds replace the egg! (I also used raw cane sugar instead of refined granulated sugar, but if that's all you have, you can go ahead and switch it.) This bread is scrumptious and moist and, don't worry, you cannot taste the avocado. :)

*Note: It also makes pretty awesome muffins if you prefer mini baked goods over a big loaf. :)


Ingredients

6 Tbsp. water
2 Tbsp. chia seeds
1 c. raw cane sugar
1 medium avocado
3 overripe bananas
6 Tbsp. unsweetened almond milk
1 Tbsp. lime juice
1 tsp. baking soda
2 c. all-purpose flour

Directions

Preheat oven to 350 degrees.
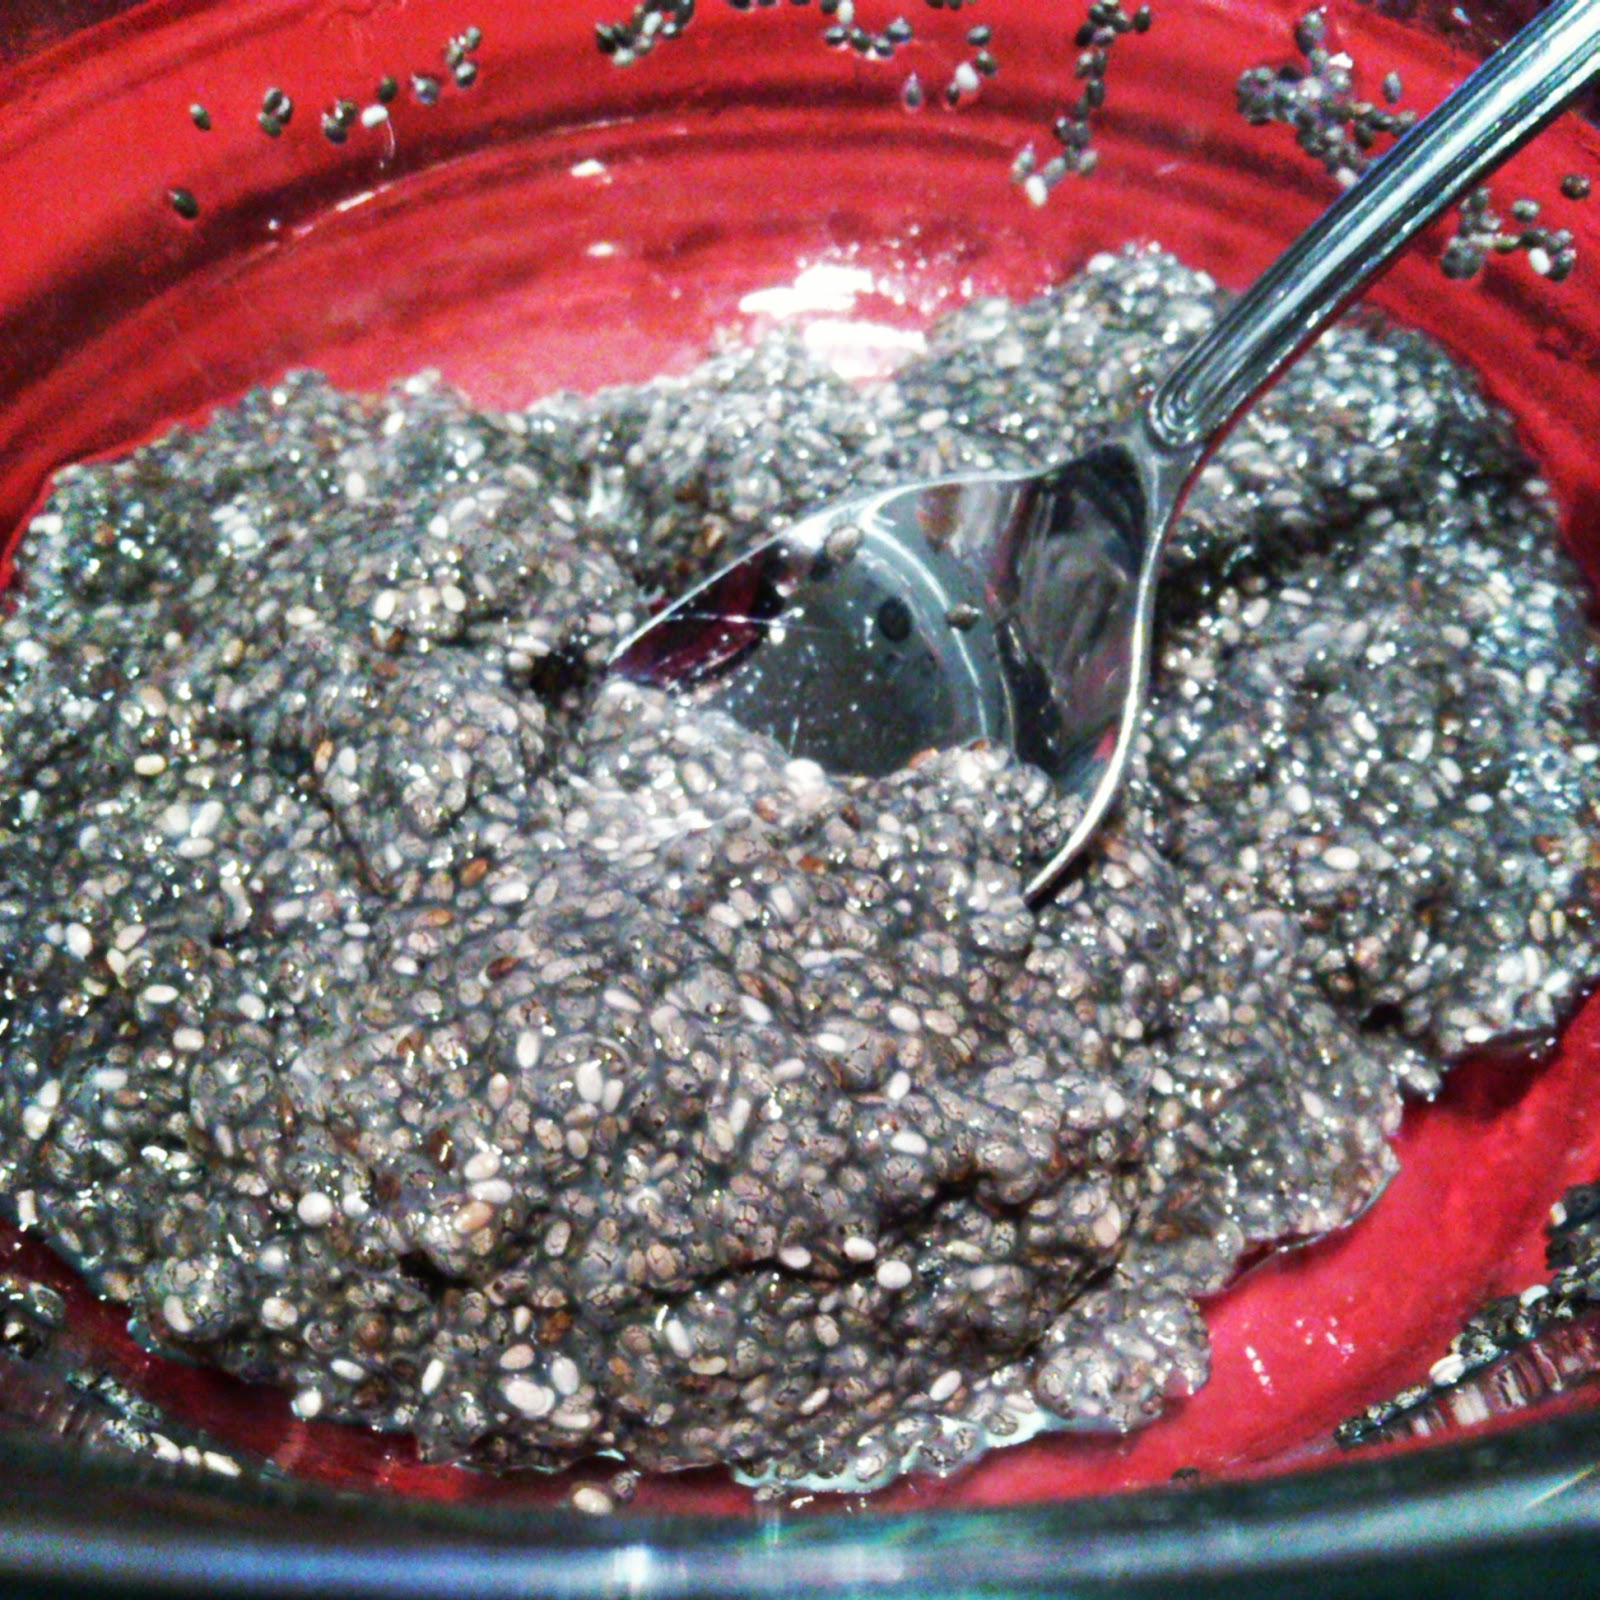
In a small bowl, stir chia seeds and water together. Set them in the fridge for 15 minutes.
While the chia seeds are "gelling up", place the avocado in a food processor.
Blend the avocado and cane sugar until smooth.
Transfer to a mixing bowl.
Place the bananas, almond milk, gelled chia seeds, and lime juice in the food processor.
Blend well.
Add it to the mixing bowl with the avocado mixture and stir well.
In a small bowl, mix the flour and baking soda.
Add it to the wet mixture and stir just until combined. (Do not overstir.)
Pour into a greased loaf pan.
(My loaf pan was pretty full so I filled 4 muffin cups, too.)
Bake for 55-65 minutes, or until toothpick comes out clean.
(The muffins take about 20-30 minutes)


************************************************************************

(Directions with Pictures)

Preheat oven to 350 degrees.
In a small bowl, stir chia seeds and water together. Set them in the fridge for 15 minutes.


While the chia seeds are "gelling up", place the avocado in a food processor.


Blend the avocado and cane sugar until smooth.


Transfer to a mixing bowl.


Place the bananas, almond milk, gelled chia seeds, and lime juice in the food processor.


Blend well.


Add it to the avocado mixture.


Stir well.


In a small bowl, mix the flour and baking soda..


Add it to the wet mixture.


Fold it in just until combined.


Do not overstir.


Pour into a greased loaf pan.
(My loaf pan was pretty full so I filled 4 muffin cups, too.)


Bake for 55-65 minutes, or until toothpick comes out clean.


Let cool before slicing...if you can wait that long. :)


Friday, July 25, 2014

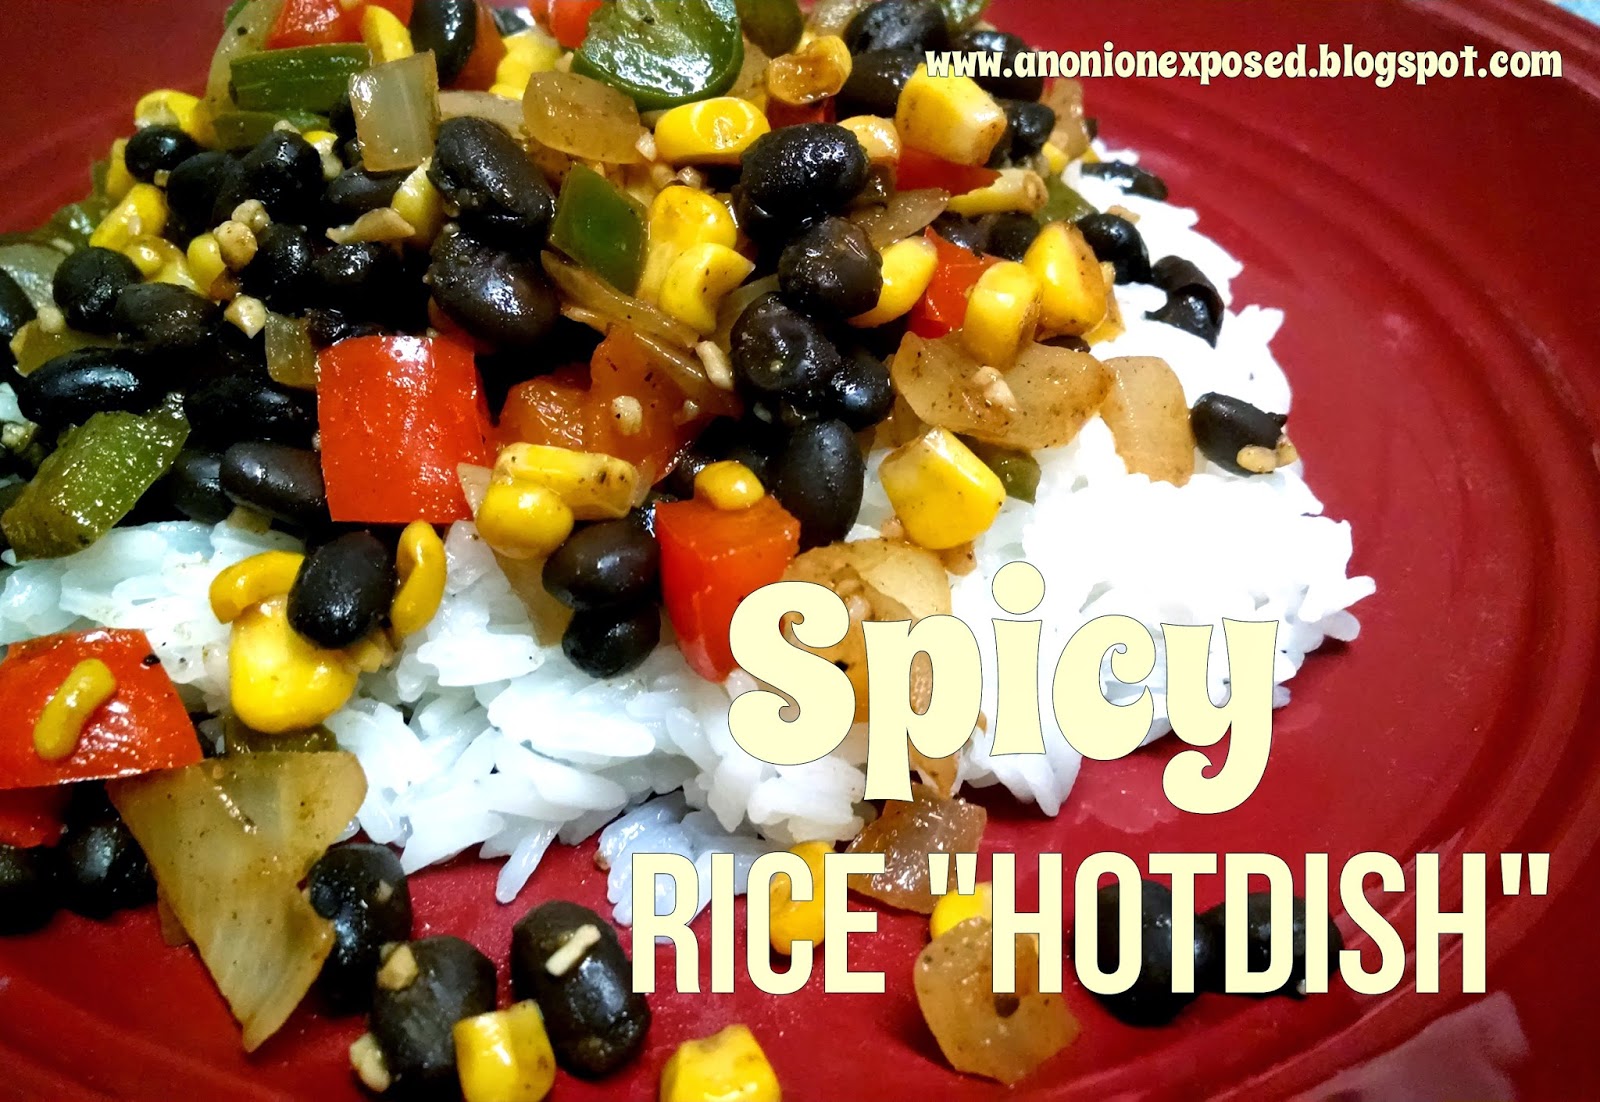
Spicy Rice "Hotdish"


Hollering down the stairs to my husband, I asked, "What am I supposed to call this!?!?"  After stating he was as clueless as I was, I sat for a moment.  How do you name something you literally threw together at 11 
o' clock at night after having a couple beers. ( Don't judge ;)
Then it came to me! Growing up, "hotdish" consisted of throwing a bunch of stuff together. I don't know how, but it seemed like every time--VOILA! Yummy.  Well--that's how it was for my Mom, any way.  I'm working on it.  My man had more input on this than I did, but I am going to take the credit.  Shhhh....Don't tell him. :)
Anywhoooo--this is what we came up with.  We decided it was going to be a staple in our house.  It is so quick to make, very filling, and the ingredients will be on hand for one of those "quick meals". 

Please note:  We enjoy spicy food.  This does have a little kick to it.  As I noted below, to tone it down a bit, substitute poblano peppers for the jalapeno peppers. 

 SPICY RICE "HOTDISH" 

1/2 tsp. chili powder
1/8 tsp. cayenne
1/4 tsp. cumin
1/2 tsp. pepper
1 medium onion, chopped
3 medium or 2 large jalapenos (if you want it less spicy, substitute poblano peppers), chopped
3/4 red pepper, chopped
4 tsp. minced garlic
1 c. frozen corn
1 can-15 oz. black beans
4 servings of jasmine rice, according to the package directions. 
(I used 1 c. rice to 1 3/4 c. water)

1.  Chop your onion, jalapenos, and red pepper.  Set aside.  Rinse your black beans. 
2. Bring your water to a boil for the rice. Follow instructions to make 4 servings. 
3.  At the same time, heat 2 T. olive oil in a large saucepan.  When hot, add chopped veggies and garlic. 
4. Saute until tender.
5. Sprinkle seasonings.  Once again, you can decrease the cayenne if you don't want it too hot. Add a little water when you need it.  It steams out pretty fast.
*  The rice is almost done by the time your veggies are sauteed.  *
6.  Add frozen corn.  Stir for 1 minute. 
7. Add rinsed black beans. Stir. 
8. Set aside.
9.  Check rice.  If done to the consistency you prefer, fluff. 

Place a bed of rice on your plate and top with "hotdish!"


Check these out!